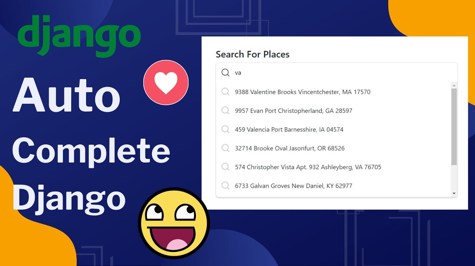
Building a responsive and dynamic search experience is crucial for user-friendly web applications. In this tutorial, we will explore the steps to implement an autocomplete search bar for a Django app using jQuery and AJAX. The autocomplete feature enhances user interaction by providing real-time suggestions as the user types, making the search process more efficient and intuitive.
Prerequisites
Before we begin, make sure you have the following:
- Basic knowledge of Django web framework.
- A Django app set up with a model that you want to search against.
Step 1: Integrating jQuery
Firstly, include jQuery and jQuery UI in your base HTML template. These libraries will empower our autocomplete functionality.
<!-- Add jQuery UI CSS -->
<link rel="stylesheet" href="https://code.jquery.com/ui/1.12.1/themes/base/jquery-ui.css" type="text/css" media="all" />

<!-- Add jQuery and jQuery UI JavaScript -->
<script src="https://code.jquery.com/jquery-3.6.4.min.js"></script>
<script src="https://code.jquery.com/ui/1.12.1/jquery-ui.js"></script>
Step 2: Creating the Search Form
Next, add a search form to your template. This form will capture user input and trigger the search.
<form id="search-form" method="POST" action="{% url 'search' %}">
    {% csrf_token %}
    <input type="text" class="form-control" id="search-input" name="search_input" placeholder="Type to search">
    <button type="submit" class="btn btn-default btn-submit">Submit</button>
</form>
Step 3: Implementing jQuery Autocomplete
Now, let's implement the jQuery autocomplete functionality. This script will make AJAX calls to retrieve search suggestions from the server.
<script>
$(document).ready(function(){
    $("#search-input").autocomplete({
        source: "/ajax_calls/search/",
        minLength: 2,
        open: function(){
            setTimeout(function () {
                $('.ui-autocomplete').css('z-index', 99);
            }, 0);
        }
    });
});
</script>
Step 4: Backend Setup
In your urls.py, define the URL pattern for the autocomplete view.
from django.urls import path
from .views import autocomplete_model

urlpatterns = [
    # Your other URL patterns
    path('ajax_calls/search/', autocomplete_model, name='autocomplete_model'),
]
Step 5: Autocomplete View
In your views.py, implement the view that handles autocomplete requests.
from django.http import HttpResponse
from django.views.decorators.http import require_POST
import json
from .models import YourModel

@require_POST
def autocomplete_model(request):
    if request.is_ajax():
        query = request.POST.get('term', '').capitalize()
        search_results = YourModel.objects.filter(name__startswith=query)
        results = [result.name for result in search_results]
        data = json.dumps(results)
    else:
        data = 'fail'
    return HttpResponse(data, 'application/json')
Conclusion
Congratulations! You've successfully implemented an autocomplete search bar in your Django app. Users can now enjoy a more interactive and efficient search experience. Feel free to customize the example to suit your specific model and search requirements.
Feel free to ask any question based on your specific use case or preferences.


