Sessions are an essential part of web development as they allow you to store user-specific data across multiple requests. Django, a popular Python web framework, provides built-in support for sessions, making it easy to implement this functionality in your applications. In this tutorial, we will walk through the process of using sessions in Django, step-by-step. By the end, you'll have a solid understanding of how to save and load session data within your Django projects.
Step 1: Set up a Django project and create an app
Before diving into sessions, ensure that Django is installed on your machine. Begin by creating a new Django project using the following commands:
django-admin startproject myproject
cd myproject
python manage.py startapp myapp
This will create a new Django project named "myproject" and an app named "myapp" within the project.
Step 2: Configure session settings
In Django, session functionality is managed through middleware. Open the settings.py file in your Django project (myproject/settings.py) and locate the MIDDLEWARE setting. Confirm that 'django.contrib.sessions.middleware.SessionMiddleware' is included in the list of middleware. This middleware is responsible for handling sessions in your Django app.
# myproject/settings.py

MIDDLEWARE = [
    ...
    'django.contrib.sessions.middleware.SessionMiddleware',
    ...
]
Additionally, verify that 'django.contrib.sessions' is present in the INSTALLED_APPS setting. This ensures that Django's session framework is included in your project.
# myproject/settings.py

INSTALLED_APPS = [
    ...
    'django.contrib.sessions',
    ...
]
You can also customize the session engine, session expiration time, and other session-related settings. For example, to set the session expiration time to 1 hour (in seconds), you can add the following line to your settings.py file:
# myproject/settings.py

SESSION_COOKIE_AGE = 3600
This will make the session expire after 1 hour of inactivity.
Step 3: Save and load session data
To interact with session data, we need a view within our Django app. Open the views.py file in your app directory (myproject/myapp/views.py) and import the django.http module. This module provides the HttpResponse class that we will use to return a response from our view.
# myproject/myapp/views.py

from django.http import HttpResponse
Next, define a view function that saves and loads data from the session. In this example, we will save a user's name to the session and then retrieve it.
# myproject/myapp/views.py

def session_demo(request):
    # Save data to session
    request.session['name'] = 'John'

    # Load data from session
    name = request.session.get('name')

    return HttpResponse(f'Name: {name}')
In this code snippet, we access the session data using request.session. We set the user's name to "John" by assigning it to request.session['name']. Later, we retrieve the name from the session using request.session.get('name').
You can also delete session data by using the del keyword or the pop() method:
# Deleting session data
del request.session['name']
# or
name = request.session.pop('name', None)
Step 4: Configure URL routing
To access the session_demo view, we need to configure URL routing. Open the urls.py file in your app directory (myproject/myapp/urls.py) and import the views module. Define a URL pattern that maps to the session_demo view.
# myproject/myapp/urls.py

from django.urls import path
from . import views

urlpatterns = [
    path('session/', views.session_demo, name='session-demo'),
]
In this example, we define a URL pattern 'session/' that will trigger the session_demo view. This URL pattern will be accessible at http://localhost:8000/myapp/session/.
Step 5: Run the development server
Start the Django development server using the following command:
python manage.py runserver
This will start the development server, and you should see output indicating that the server is running.
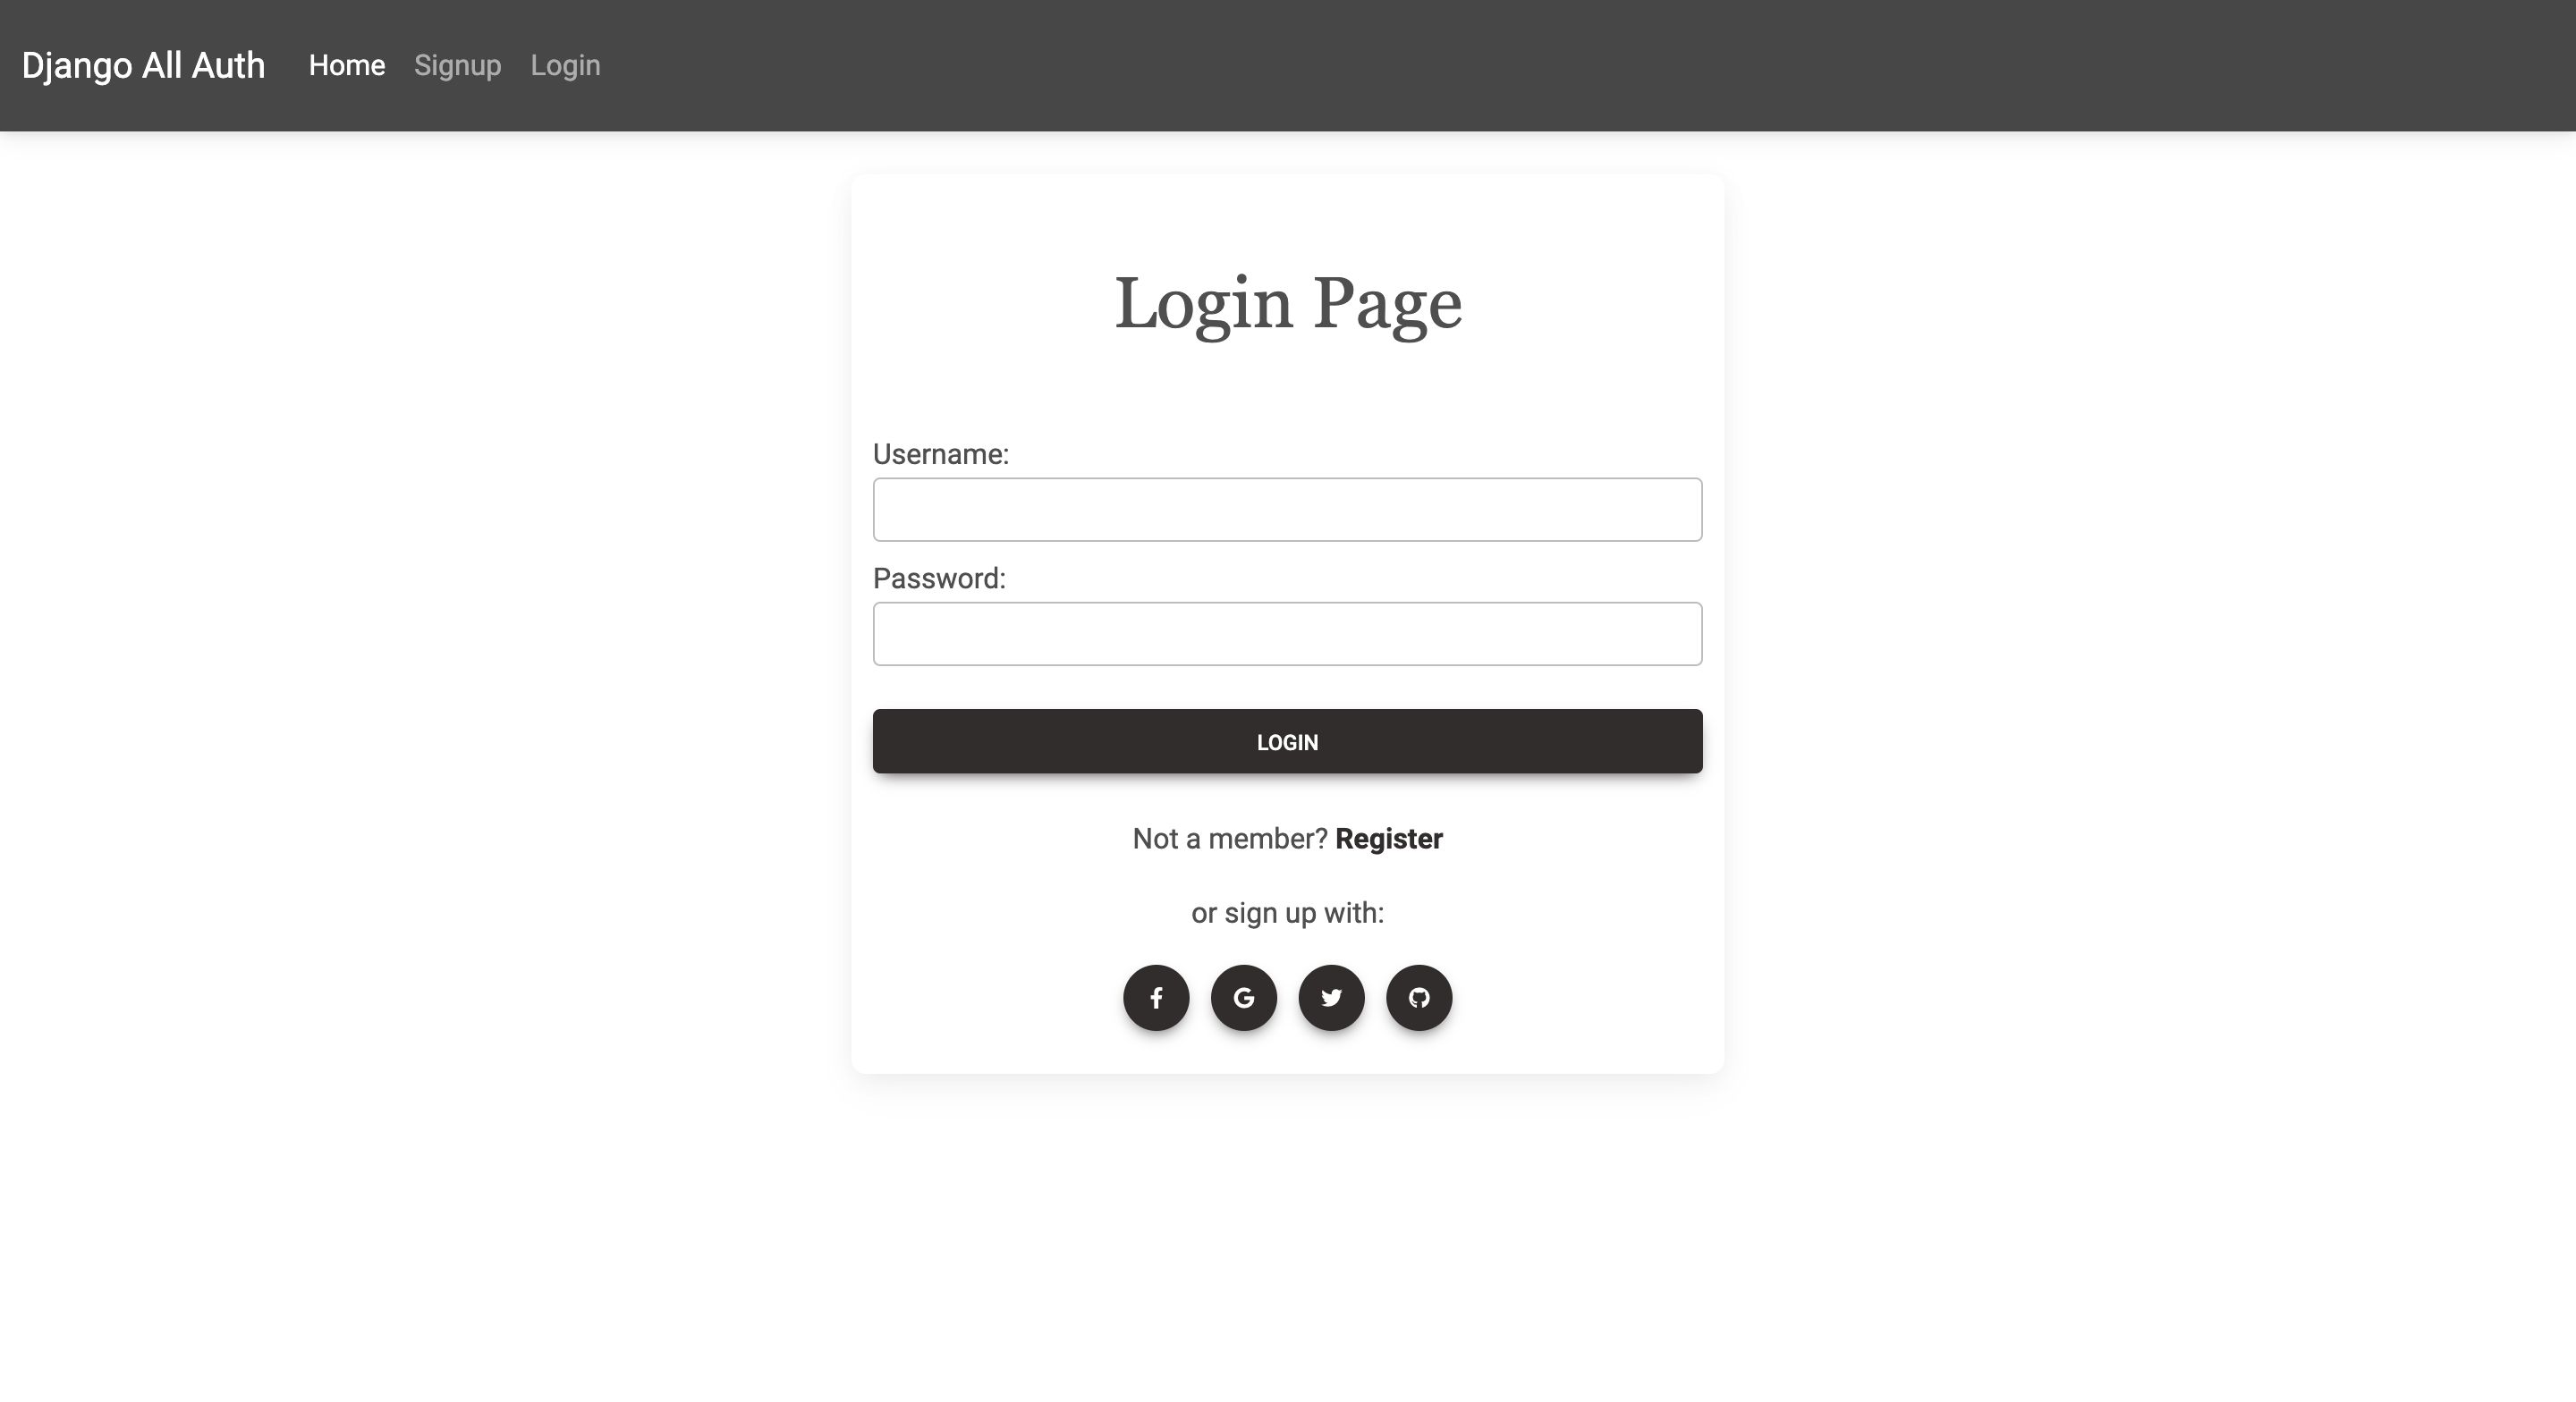
Step 6: Test the session functionality
Open your web browser and visit http://localhost:8000/myapp/session/. You should see the message "Name: John" displayed on the page. This indicates that the session data is being saved and loaded correctly.
Feel free to modify the session data and experiment with different scenarios to further explore session functionality in Django.
Advanced Example: User Authentication with Sessions
Sessions are commonly used for user authentication in web applications. Django provides a built-in authentication system that works seamlessly with sessions. Here's an example of how to authenticate a user and store their information in the session:
1. Import the required modules in your views.py file:
from django.contrib.auth import authenticate, login
from django.shortcuts import render, redirect
2. Create a view function for user login:
def login_view(request):
    if request.method == 'POST':
        username = request.POST['username']
        password = request.POST['password']
        user = authenticate(request, username=username, password=password)
        if user is not None:
            login(request, user)
            return redirect('dashboard')
        else:
            return render(request, 'login.html', {'error': 'Invalid username or password.'})
    else:
        return render(request, 'login.html')
In this example, we check if the request method is POST. If it is, we retrieve the username and password from the request's POST data. We then use the authenticate() function to validate the user's credentials. If the user is authenticated successfully, we call the login() function to log in the user and store their information in the session. Finally, we redirect the user to the dashboard page.
3. Create a template for the login page (login.html):
{% if error %}
<p>{{ error }}</p>
{% endif %}
<form method="post" action="{% url 'login' %}">
    {% csrf_token %}
    <label for="username">Username:</label>
    <input type="text" id="username" name="username">
    <br>
    <label for="password">Password:</label>
    <input type="password" id="password" name="password">
    <br>
    <input type="submit" value="Login">
</form>
In this template, we display an error message if the user enters invalid credentials. The form submits the data to the login view using the {% url 'login' %} template tag.
4. Update the URL routing in urls.py:
urlpatterns = [
    ...
    path('login/', views.login_view, name='login'),
    ...
]
This example demonstrates how sessions can be used in conjunction with user authentication in Django. By storing the user's information in the session, you can maintain the user's authentication state throughout their interaction with your web application.
Conclusion:
In this tutorial, we learned how to use sessions in Django to store and retrieve user-specific data. We covered the basic steps of configuring sessions, saving and loading session data, and implementing user authentication with sessions. Sessions provide a powerful tool for managing user state and customizing user experiences in your Django applications.
As you continue to develop Django applications, explore the Django documentation to discover more advanced features and techniques related to sessions. Topics such as session security, session expiration, and session customization will help you build robust and secure web applications using Django's session framework.