
In digital security, user authentication plays a vital role in safeguarding sensitive information and preventing unauthorized access. Traditionally, one-time passwords (OTPs) have been a reliable method to verify users' identities. However, as technology evolves and threats become increasingly sophisticated, the limitations of OTP-based authentication are becoming evident. Innovative solutions are emerging to replace OTPs with more secure and convenient alternatives.
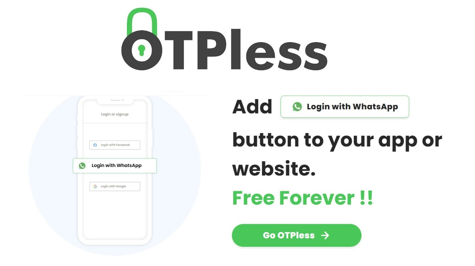
In today's article, we will see how to integrate OTP Less with Django. Let's start without wasting your time
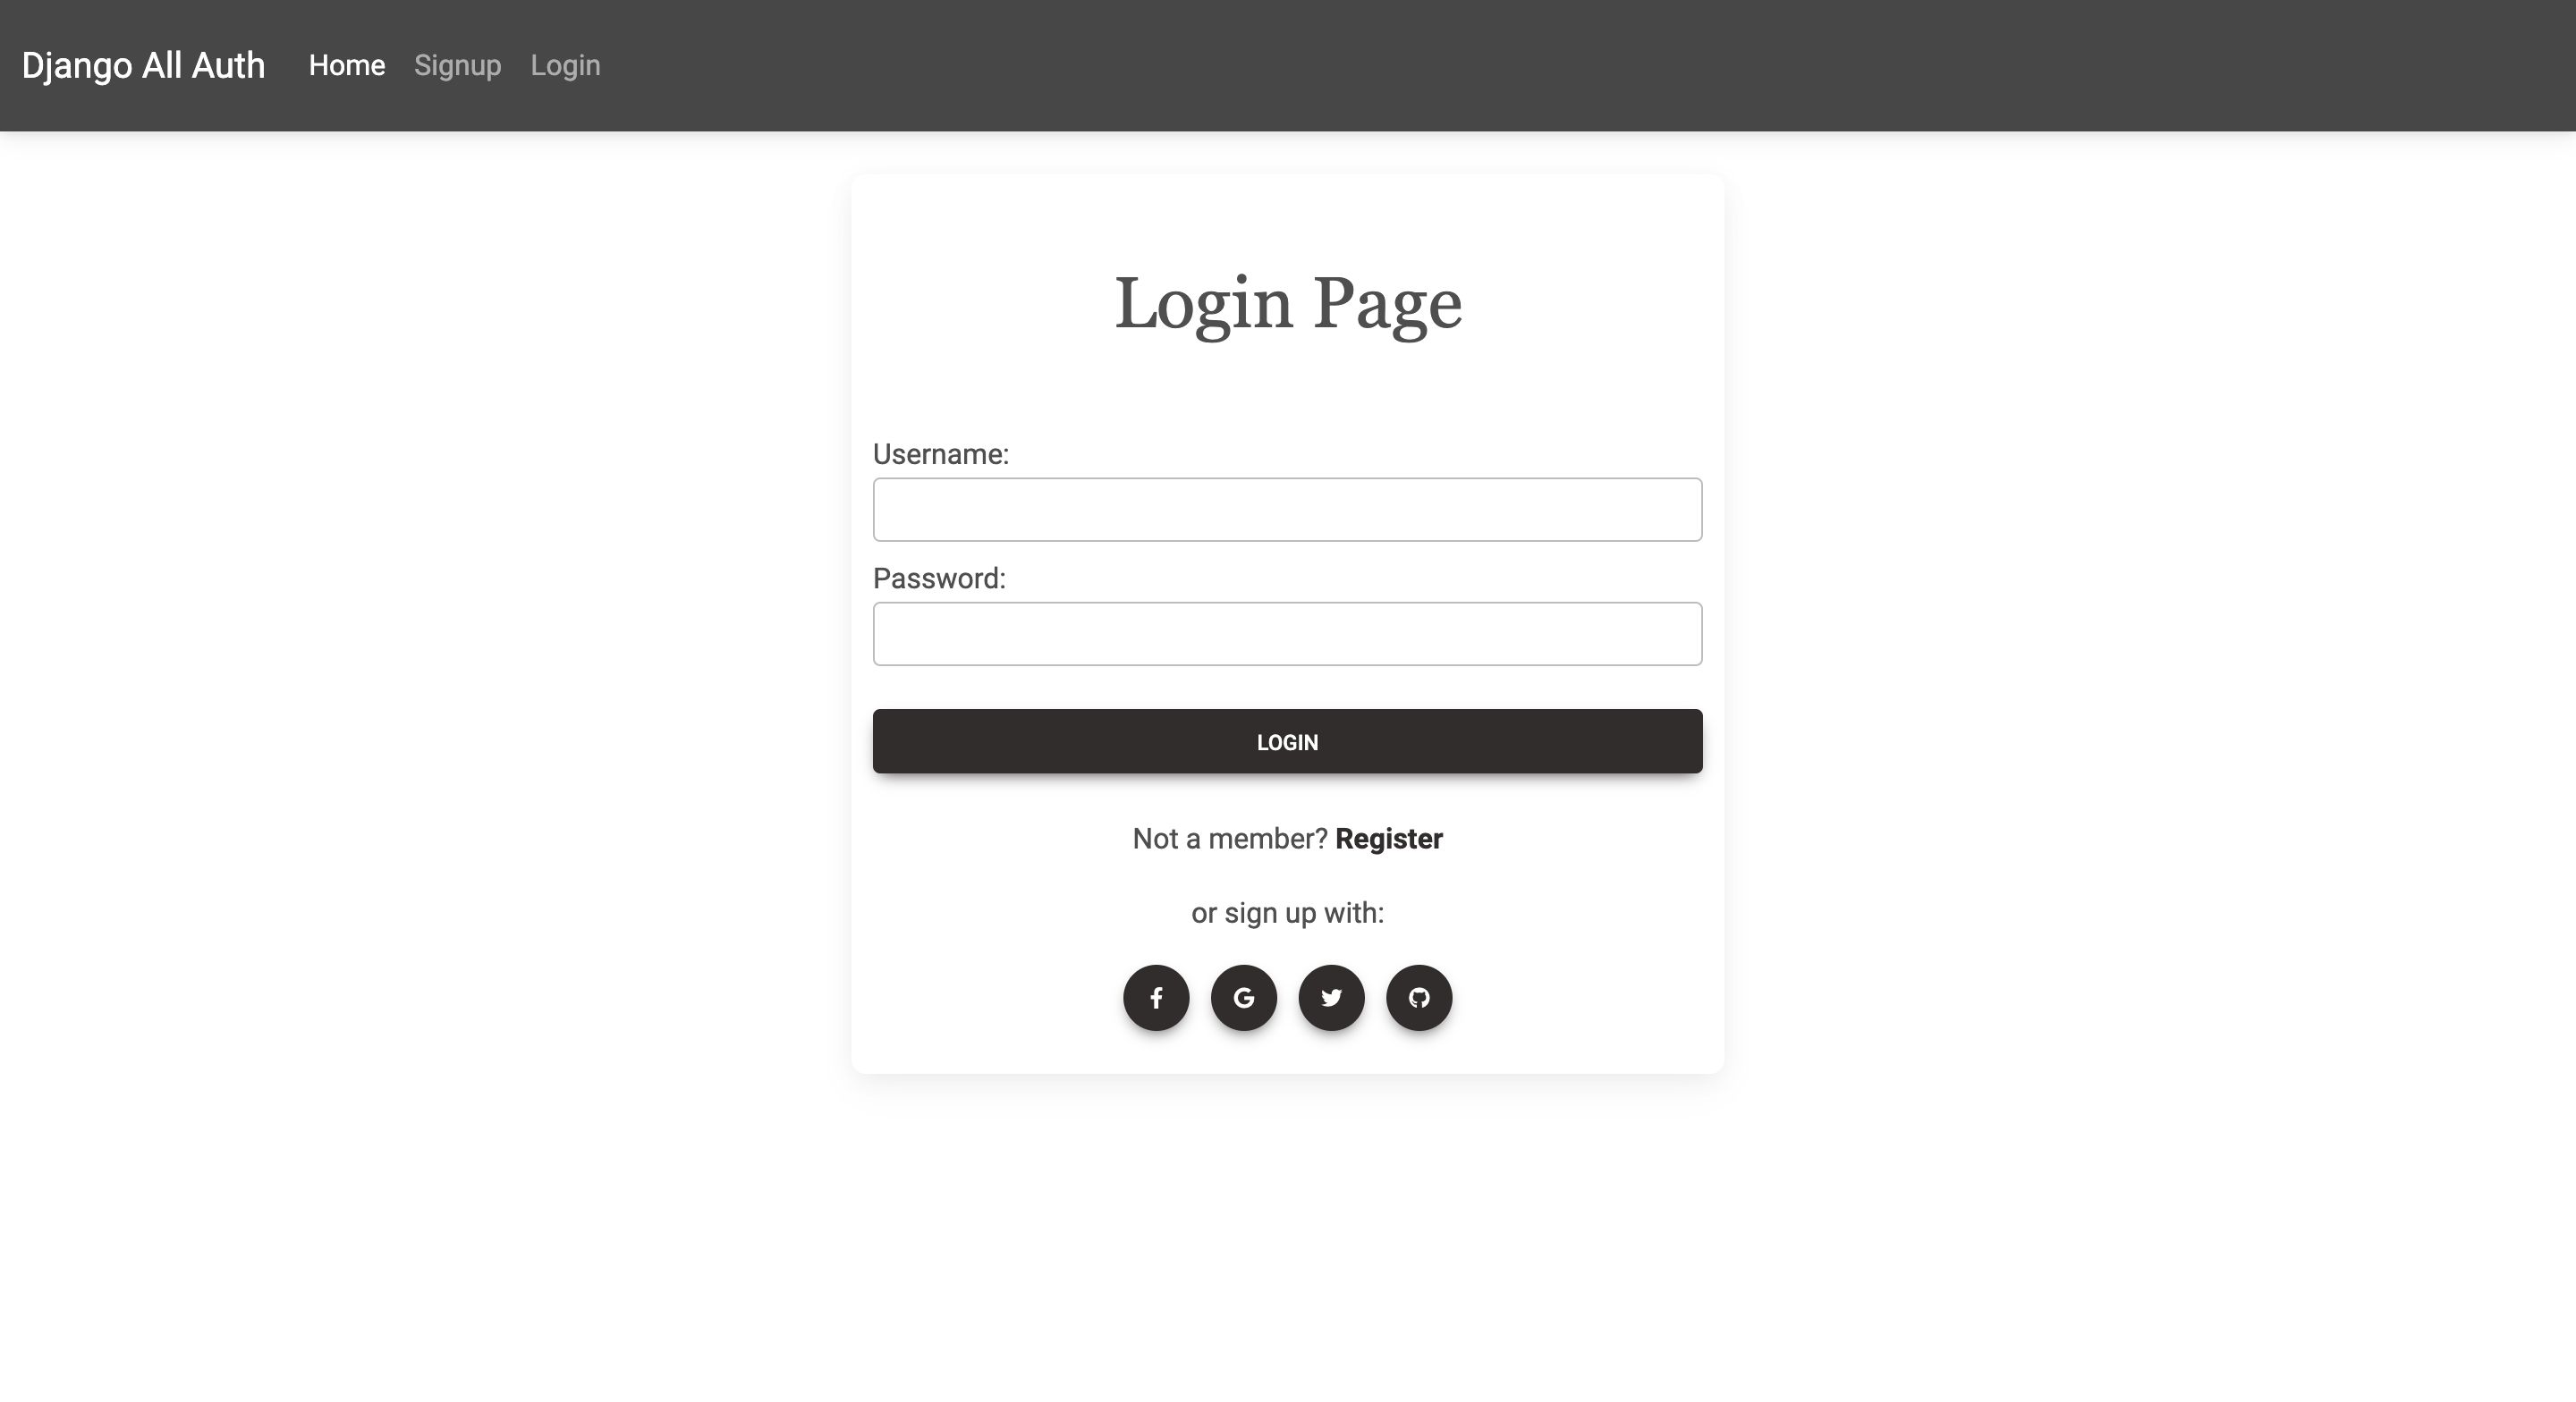
You can test it by login into our website via WhatsApp. You will have a pop-up show on the top right side.
For this, you need some requirements which we will discuss below.
Requirements
1. You need a hosted website or you can use ngrok. Click here to download ngrok.
2. Django must be installed on your system.
Installation Process
We will integrate this into our old project How to Build a mini blog project with Django: A Step-by-Step Guide. You need to see this, we will add WhatsApp logging in to it. In this article, we will tell only that.
We will put the script of its OTP-less inside our head tag in our base.html. You will find it on the website of OTP-less.
<head>
 <meta charset="UTF-8">
 <meta name="viewport" content="width=device-width, initial-scale=1.0">
 <link rel="stylesheet" href="{% static 'blog/css/bootstrap.css' %}">
 <link rel="stylesheet" href="{% static 'blog/css/style.css' %}">


<!-- otpless script -->
{% if not request.user.is_authenticated %}
    <script type="text/javascript" src="https://otpless.com/auth.js"></script>
{% endif %}
<!-- otpless script end-->


 <title>Document</title>
</head>
-
<link rel="stylesheet" href="{% static 'blog/css/bootstrap.css' %}">: This line includes an external CSS file called "bootstrap.css" from the "blog/css" directory. The{% static ... %}syntax suggests that this code is likely used within a web framework that handles static file serving. -
<link rel="stylesheet" href="{% static 'blog/css/style.css' %}">: Similar to the previous line, this line includes another external CSS file called "style.css" from the same directory. -
{% if not request.user.is_authenticated %}: This is a conditional statement that checks if the user is not authenticated. The{% ... %}syntax suggests that this code is part of a server-side templating language or framework. -
<script type="text/javascript" src="https://otpless.com/auth.js"></script>: If the user is not authenticated, this line includes an external JavaScript file from "https://otpless.com/auth.js". It allows the website to incorporate the authentication functionality provided by the "otpless.com" service. -
{% endif %}: This line marks the end of the conditional statement.
Now we will create a JavaScript function which is given to us by OTP-less.
<!-- OTP less -->
 <script type="text/javascript">
    function otpless(otplessUser) {
     var waName = otplessUser.waName;
     var waNumber = otplessUser.waNumber;
     $.ajax({
          type: "GET",
          url: '/whatsapp-login/',
          data: {
              "waName": waName,
              "waNumber":waNumber,
          },
          dataType: "json",
          success: function (data) {
              // any process in data

              window.location.assign('{% url "dashboard" %}');
          },
          failure: function () {
              alert("failure");
          }
      });
      window.location.href="{% url 'dashboard' %}";
    }
  </script>
  <!-- OTP less -->
The code defines a JavaScript function named otpless that takes an object otplessUser as a parameter. Here's an explanation of the code:
-
The
otplessfunction extracts the values ofwaNameandwaNumberfrom theotplessUserobject. -
It then makes an AJAX GET request using the
$.ajaxfunction. The request is sent to the URL '/whatsapp-login/' and includes thewaNameandwaNumberas data. -
The
dataTypeproperty is set to "json", indicating that the expected response from the server is in JSON format. -
If the AJAX request is successful, the code inside the
successcallback function is executed. The specific process indatareturned by the server is not shown in the provided code snippet. -
After the success callback function, the
window.location.assignfunction is called, which redirects the user to the URL specified by'{% url "dashboard" %}'. The{% url ... %}syntax suggests that this code is part of a server-side templating language or framework that dynamically generates the URL for the "dashboard" page. -
If the AJAX request fails, the
failurecallback function is executed, which displays an alert message saying "failure". -
After the AJAX request block, the code also includes
window.location.href = "{% url 'dashboard' %}";. This line will immediately redirect the user to the URL specified by'{% url "dashboard" %}'without waiting for the AJAX request to complete. It seems redundant and may be unnecessary.
Now our base.html will look like this:
<!DOCTYPE html>
{% load static %}
<html lang="en">
<head>
 <meta charset="UTF-8">
 <meta name="viewport" content="width=device-width, initial-scale=1.0">
 <link rel="stylesheet" href="{% static 'blog/css/bootstrap.css' %}">
 <link rel="stylesheet" href="{% static 'blog/css/style.css' %}">


<!-- otpless -->
{% if not request.user.is_authenticated %}
    <script type="text/javascript" src="https://otpless.com/auth.js"></script>
{% endif %}
<!-- otpless -->


 <title>Document</title>
</head>
<body>
 <div class="container-fluid bg-dark">
  {% include 'blog/navbar.html' %}
 </div>
 <div class="container">
  <div class="row">
   <div class="col-sm-12">
    {% block msg %}
    {% endblock msg %}
   </div>
  </div>

  <div class="row">
   {% block side %}
   {% endblock side %}

   {% block content %}
   {% endblock content %}
  </div>
 </div>


<!-- OTP less -->
 <script type="text/javascript">
    function otpless(otplessUser) {
     var waName = otplessUser.waName;
     var waNumber = otplessUser.waNumber;
     $.ajax({
          type: "GET",
          url: '/whatsapp-login/',
          data: {
              "waName": waName,
              "waNumber":waNumber,
          },
          dataType: "json",
          success: function (data) {
              // any process in data

              window.location.assign('{% url "dashboard" %}');
          },
          failure: function () {
              alert("failure");
          }
      });
      window.location.href="{% url 'dashboard' %}";
    }
  </script>
  <!-- OTP less -->

 <script src="{% static 'blog/js/jquery.js' %}"></script>
 <script src="{% static 'blog/js/popper.js' %}"></script>
 <script src="{% static 'blog/js/bootstrap.js' %}"></script>
</body>
</html>
Our WhatsApp login function will be like this:
from django.contrib.auth.models import User


def whatsapp_login(request):
    waName = request.GET.get("waName")
    waNumber = request.GET.get("waNumber")
    # Split the string by space
    full_name = waName.split()
    if len(full_name) >= 2:
        # Extract the first and last words
        first_name = full_name[0]
        last_name = full_name[1]
    else:
        first_name = None
        last_name = None
    if User.objects.filter(username=waNumber).exists():
        w_user = User.objects.filter(username=waNumber).first()
        if w_user is not None:
            # If authentication is successful, log in the user
            login(request, w_user)
            return HttpResponseRedirect("/dashboard/")
    else:
        if first_name and last_name:
            w_user = User.objects.create_user(
                username=waNumber, first_name=first_name, last_name=last_name
            )
        else:
            w_user = User.objects.create_user(username=waNumber)
        if w_user is not None:
            # If authentication is successful, log in the user
            login(request, w_user)
            return HttpResponseRedirect("/dashboard/")
    return render(request, "blog/signup.html")
Now we will write the URL for this:
from django.urls import path
from . import views


urlpatterns = [
    path("", views.home),
    path("about/", views.about, name="about"),
    path("contact/", views.contact, name="contact"),
    path("dashboard/", views.dashboard, name="dashboard"),
    path("signup/", views.user_signup, name="signup"),
    path("login/", views.user_login, name="login"),
    path("logout/", views.user_logout, name="logout"),
    path("addpost/", views.add_post, name="addpost"),
    path("updatepost/<int:id>/", views.update_post, name="updatepost"),
    path("delete/<int:id>/", views.delete_post, name="deletepost"),
    path("read/<int:id>/", views.read, name="read"),
    path("whatsapp-login/", views.whatsapp_login, name="whatsapp-login"), # New
]
Now it is completely ready, you can test it by running it with ngrok. If you are doing it on a PC then you have to scan the QR code from your smartphone with any QR scanner and if you are using a smartphone then it will automatically open WhatsApp, you have to send the message, and you will get a new link open it. you will be logged in.
If you have any issues, then tell me in the comment or you can also message me, this is my profile Abdulla Fajal.