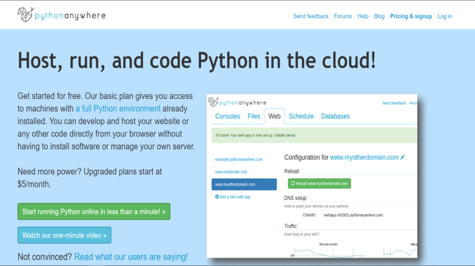

First, you must create an account by going to this link New account for beginners. Please confirm your email which will help you to forget your password. You will get the signup form which you can see in the below screenshot:

Your login interface will look something like this:
Now you compress your project, if you want, you can also use GitHub, we are making this deployment for beginners who do not have knowledge of GitHub.
You have to go to the files section, which you will see at the top of the navbar, and you will see some such interfaces:
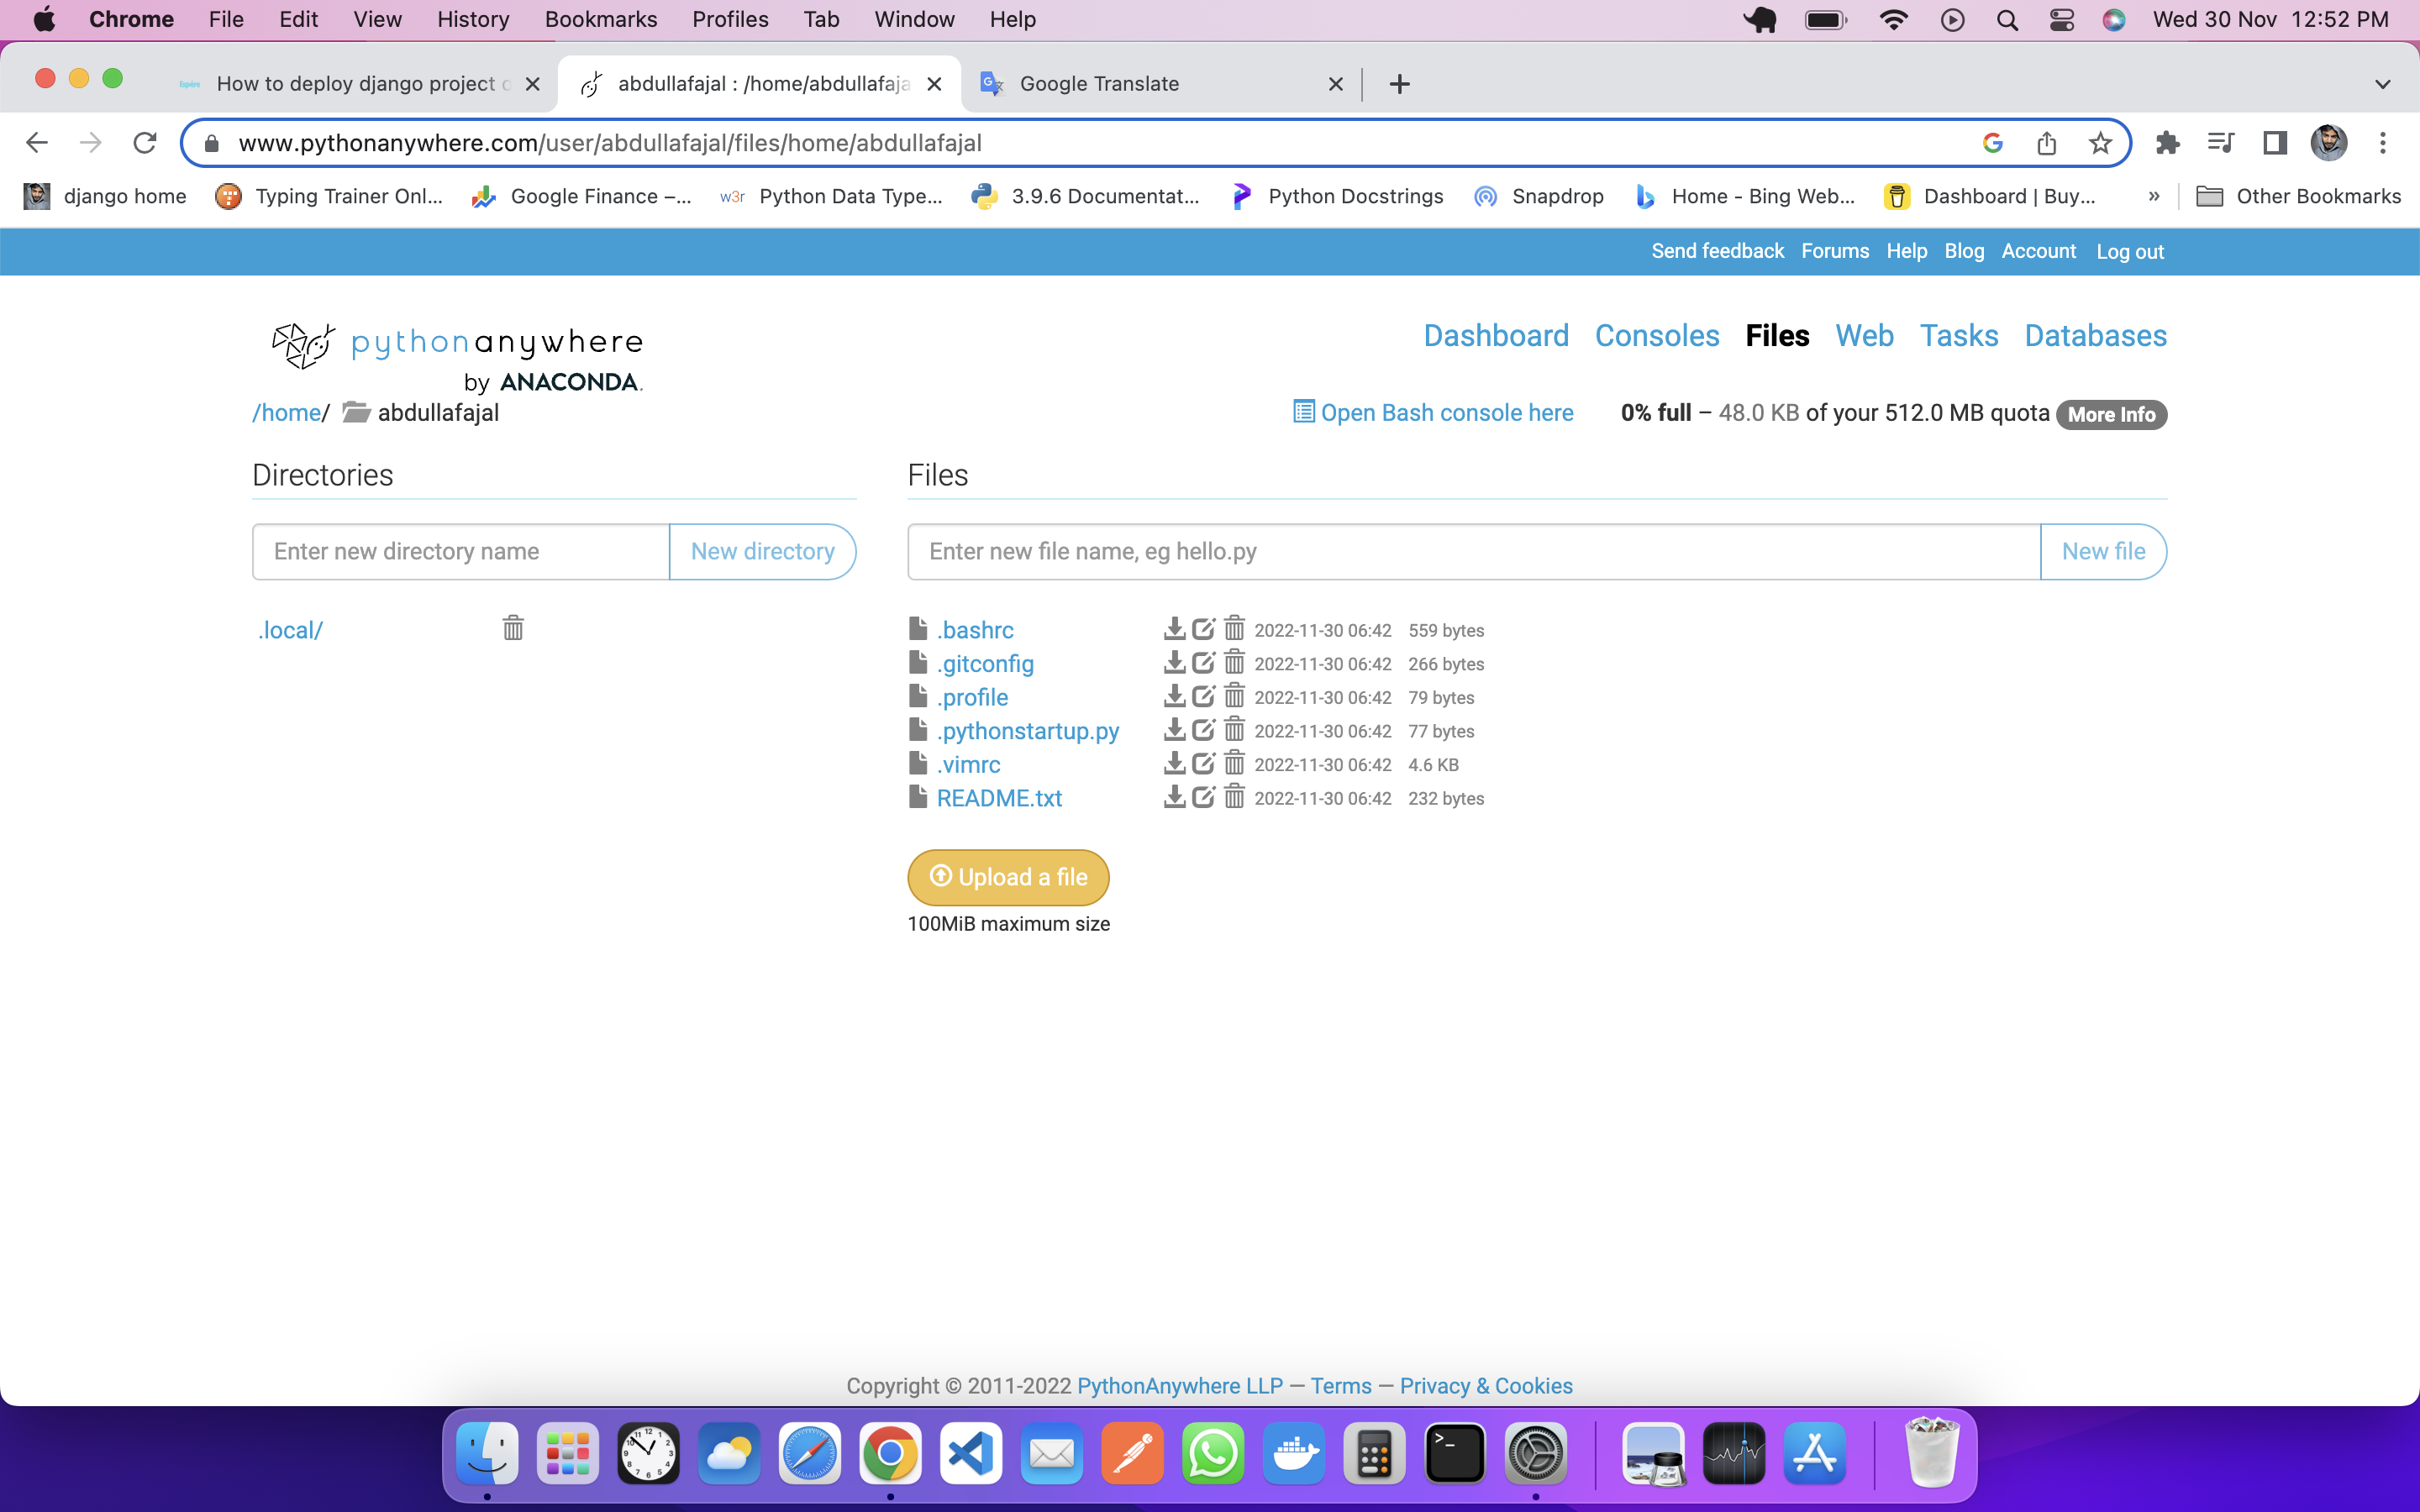
Now you have to upload your compressed zip file, in my case, my zip file name is crud.zip which we learned to create in this blog Django Application to Perform CRUD Operations.
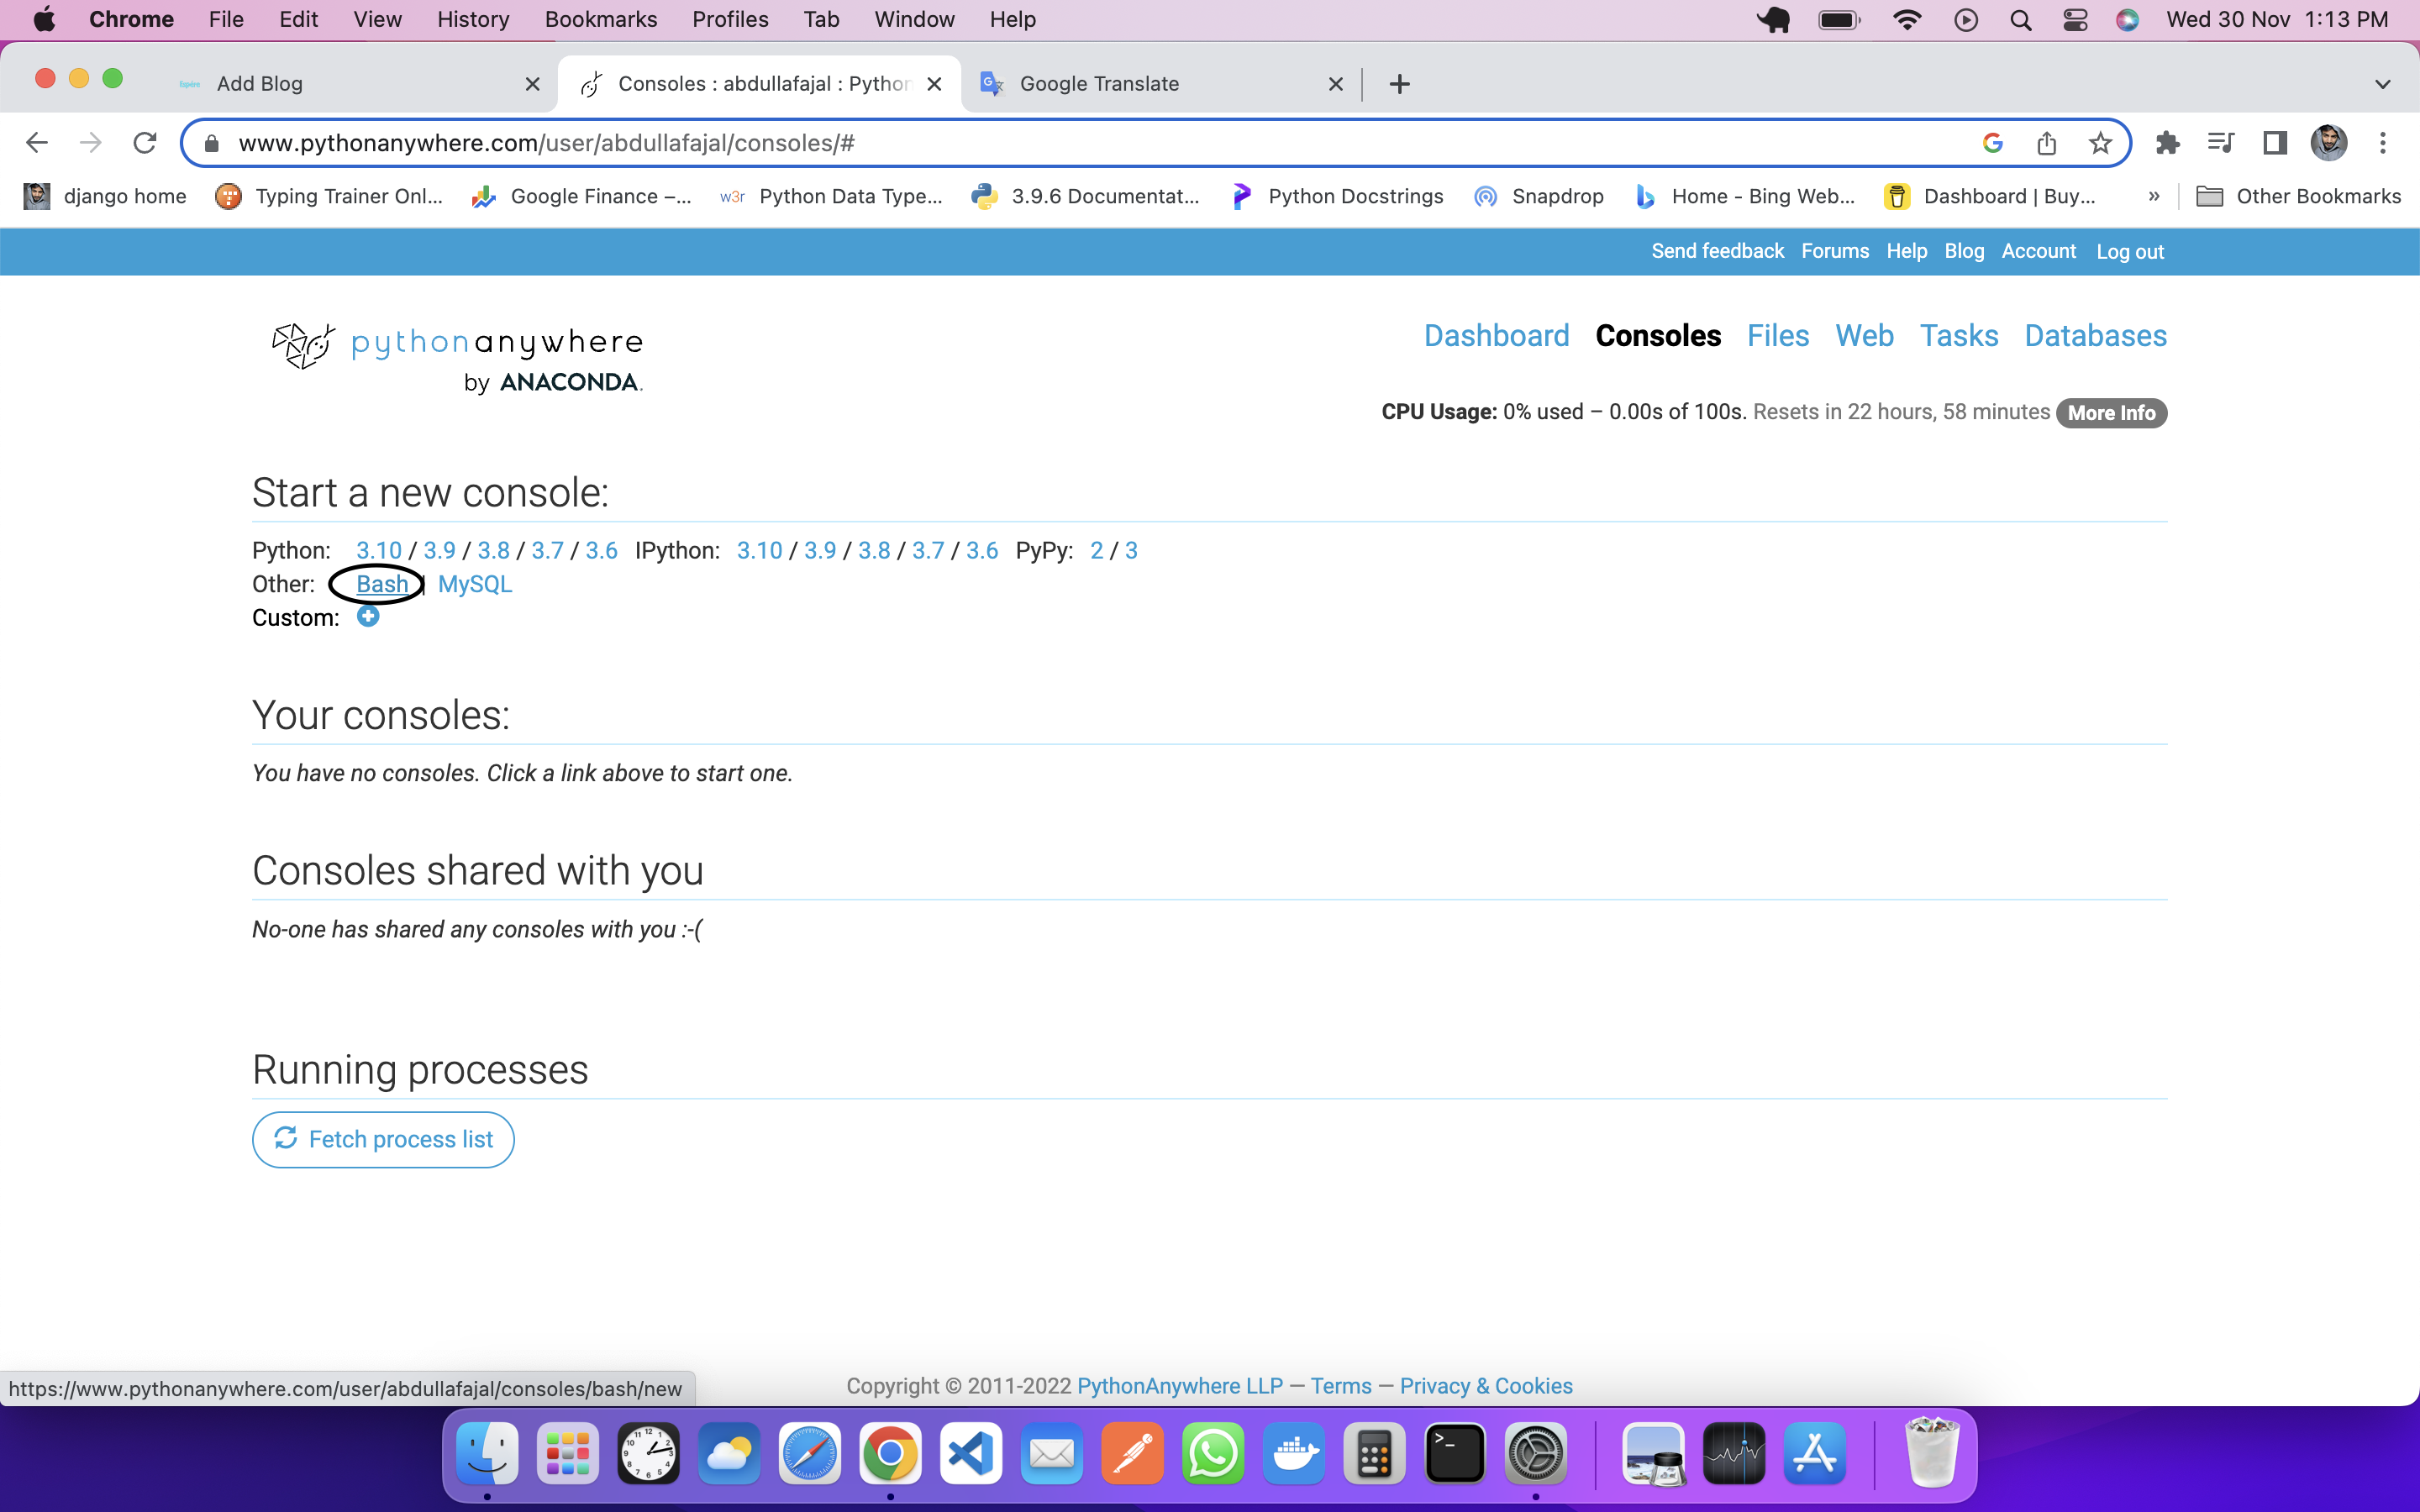
You have to extract your zip file, and for that, you will use the command line PythonAnyWhere gives you a terminal, for that you have to go to the console and open a new bash, as you can see in the screenshot:
You first create a virtual environment using this command:
virtualenv -p python3.10 env
Note: env name of our virtual environment
You need to activate the virtual environment using this command:
source env/bin/activate
You will see something like this:
(env) 13:47 ~ $
Now you have to unzip your project, that you will give this command:
unzip project_name
In our case, the project name is crud so we will give something like this:
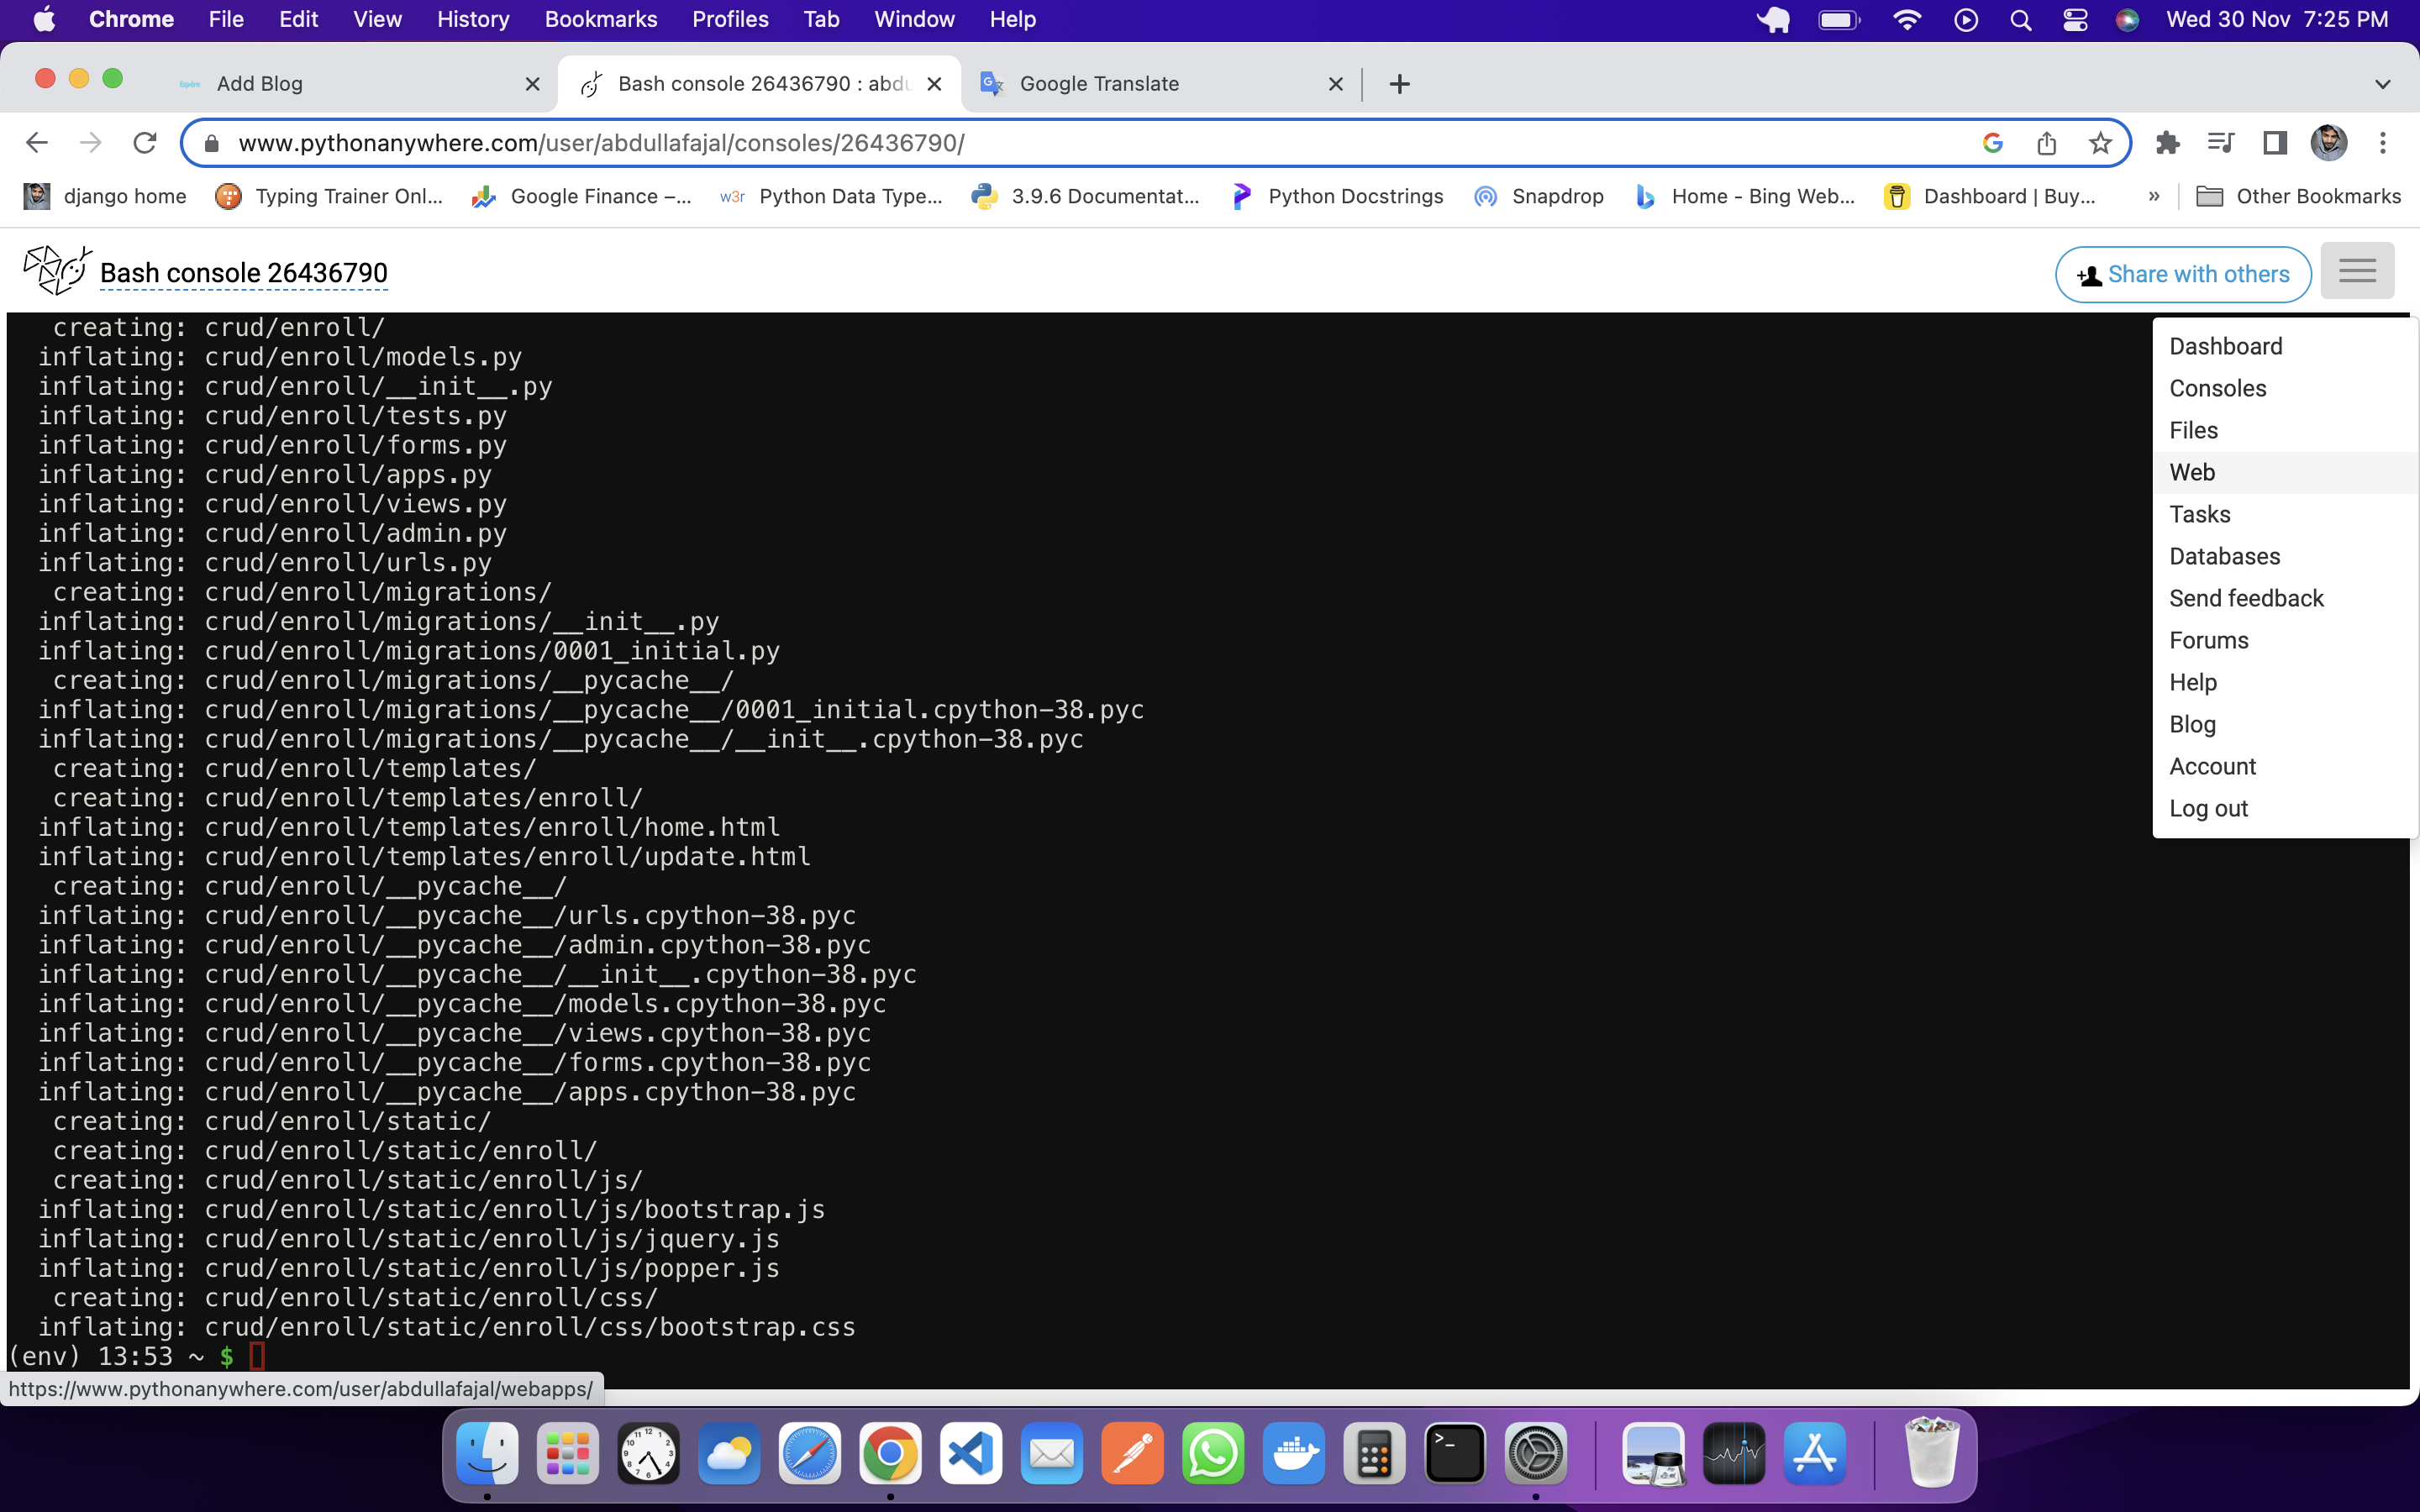
unzip crud
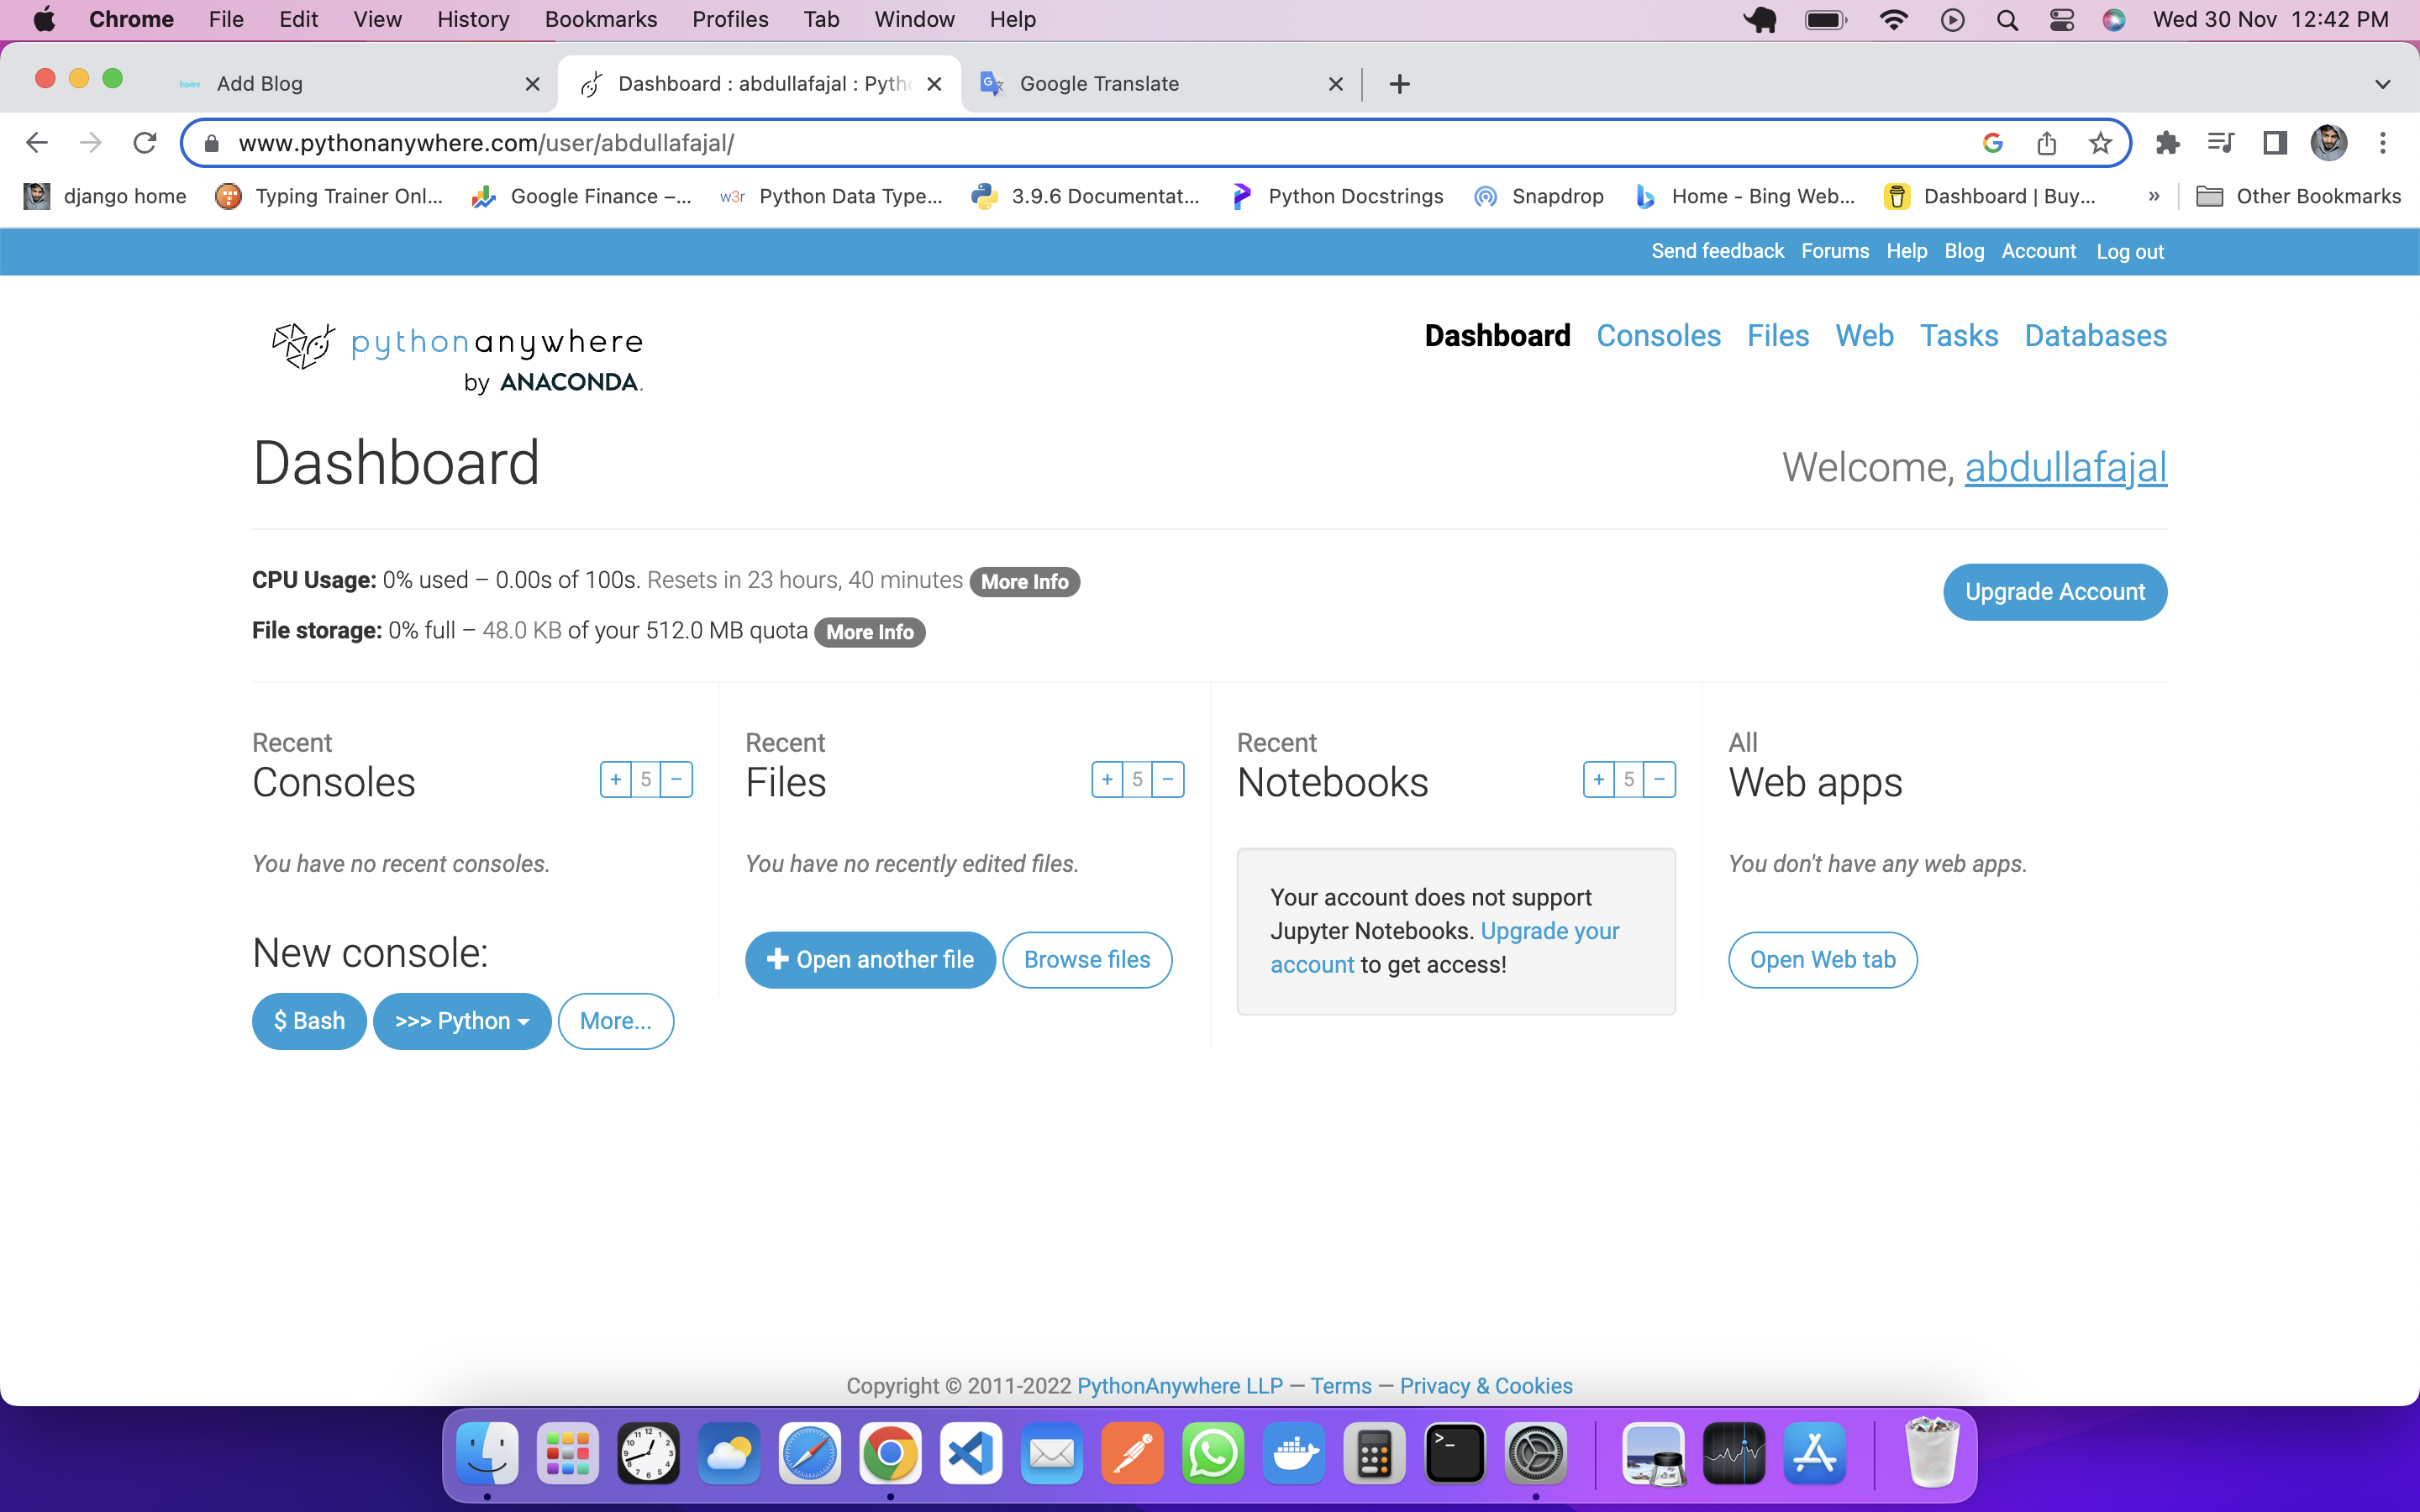
This will unzip your project. You can see this by going to the file, then you will have to create a web by clicking on the web.
You will see something like this:
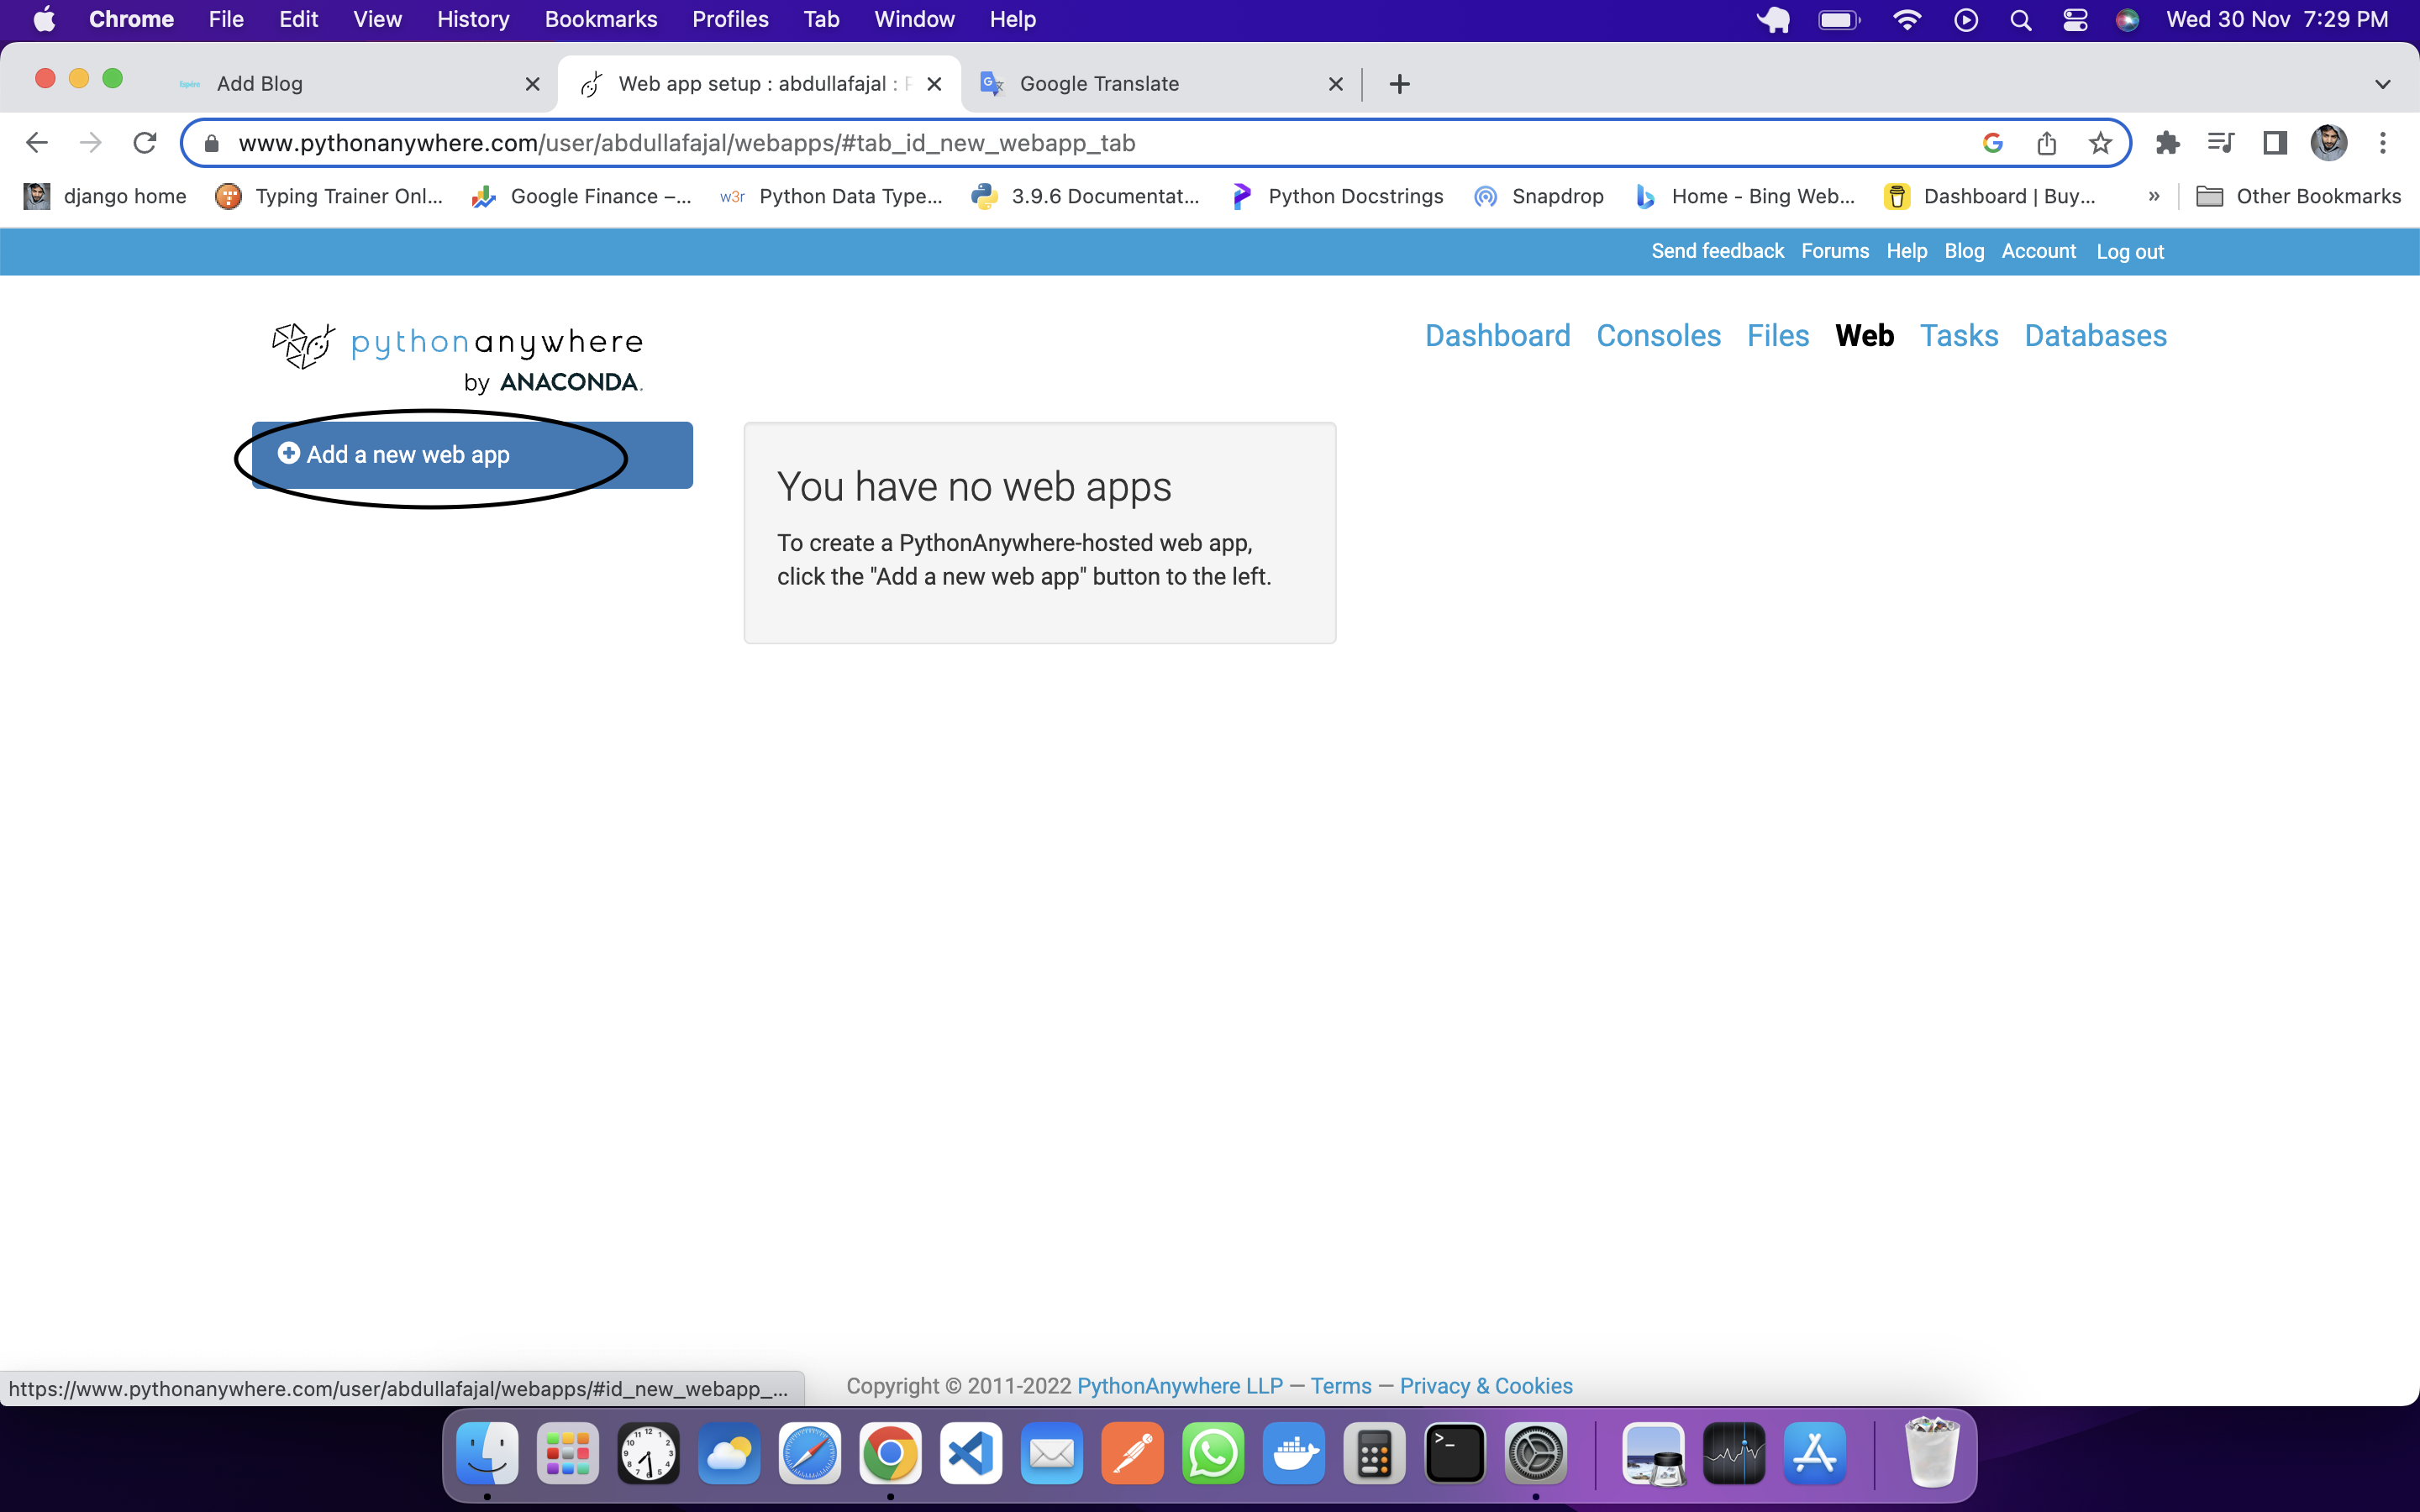
You have to create a new web by clicking on Add a new web app, which will be your username, the same will be the address of your web, in our case the name of our web is https://abdullafajal.pythonanywhere.com/. which you can see in the below screenshot:
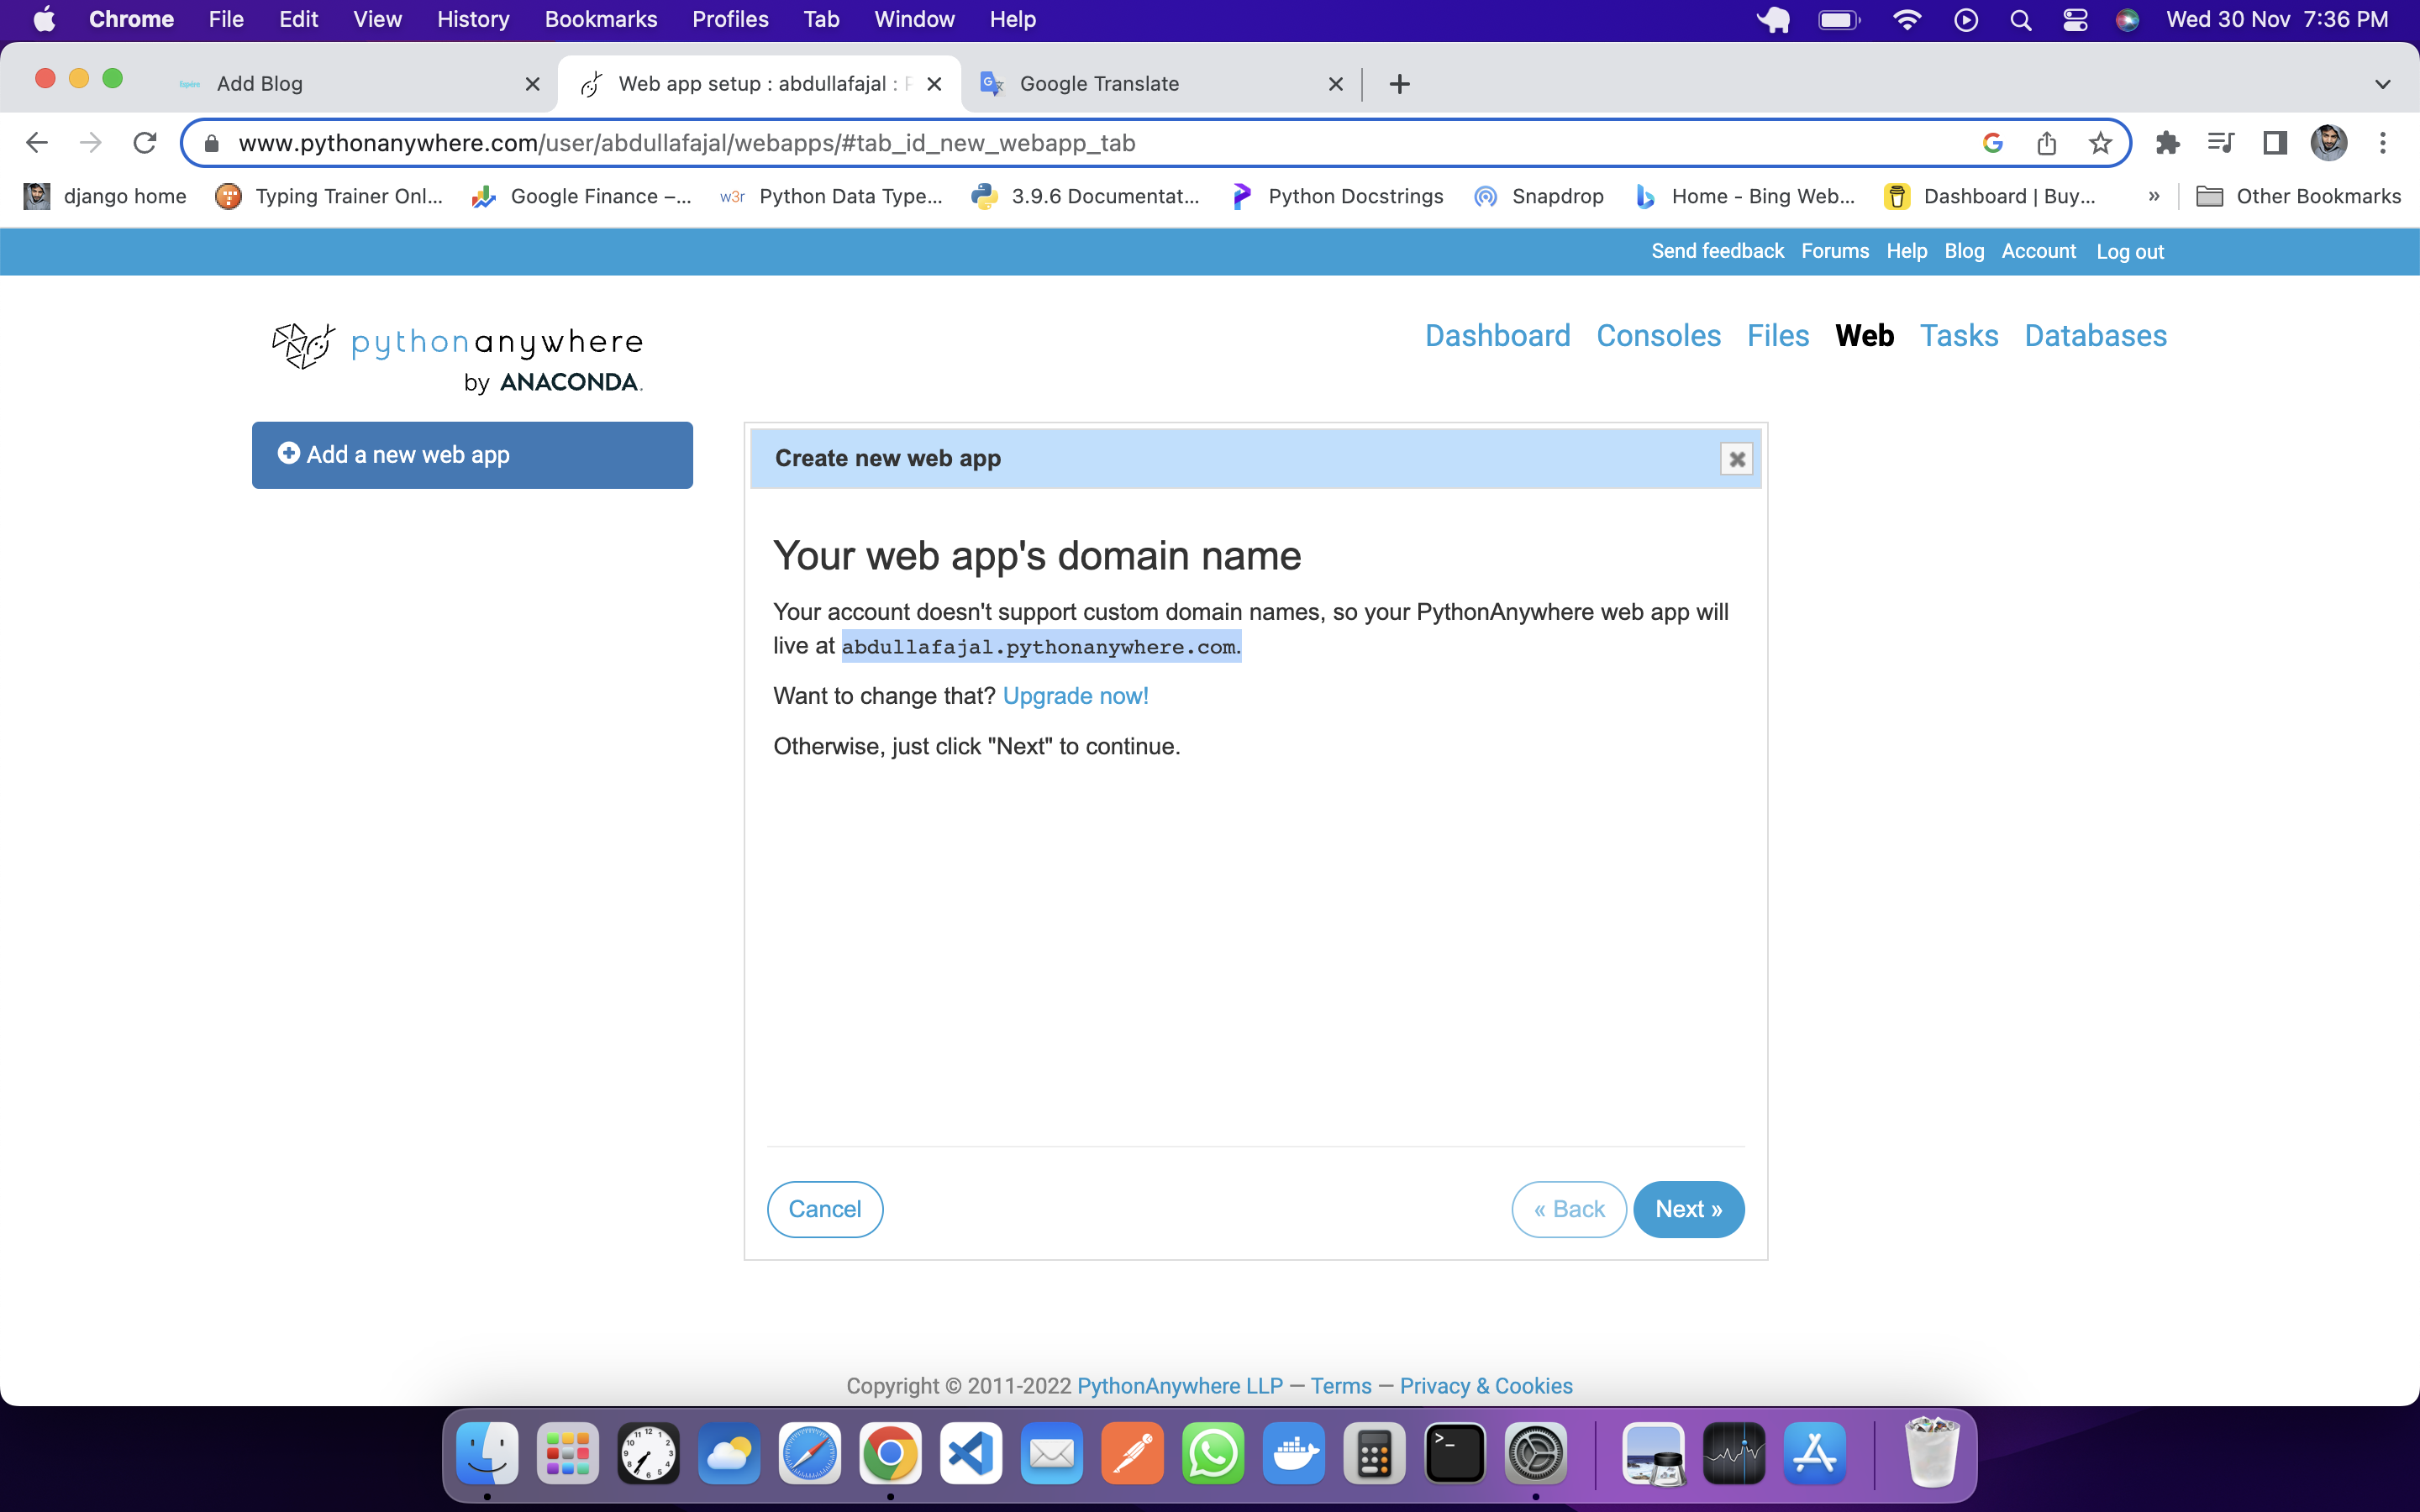
You have to click on next you will see something like this:
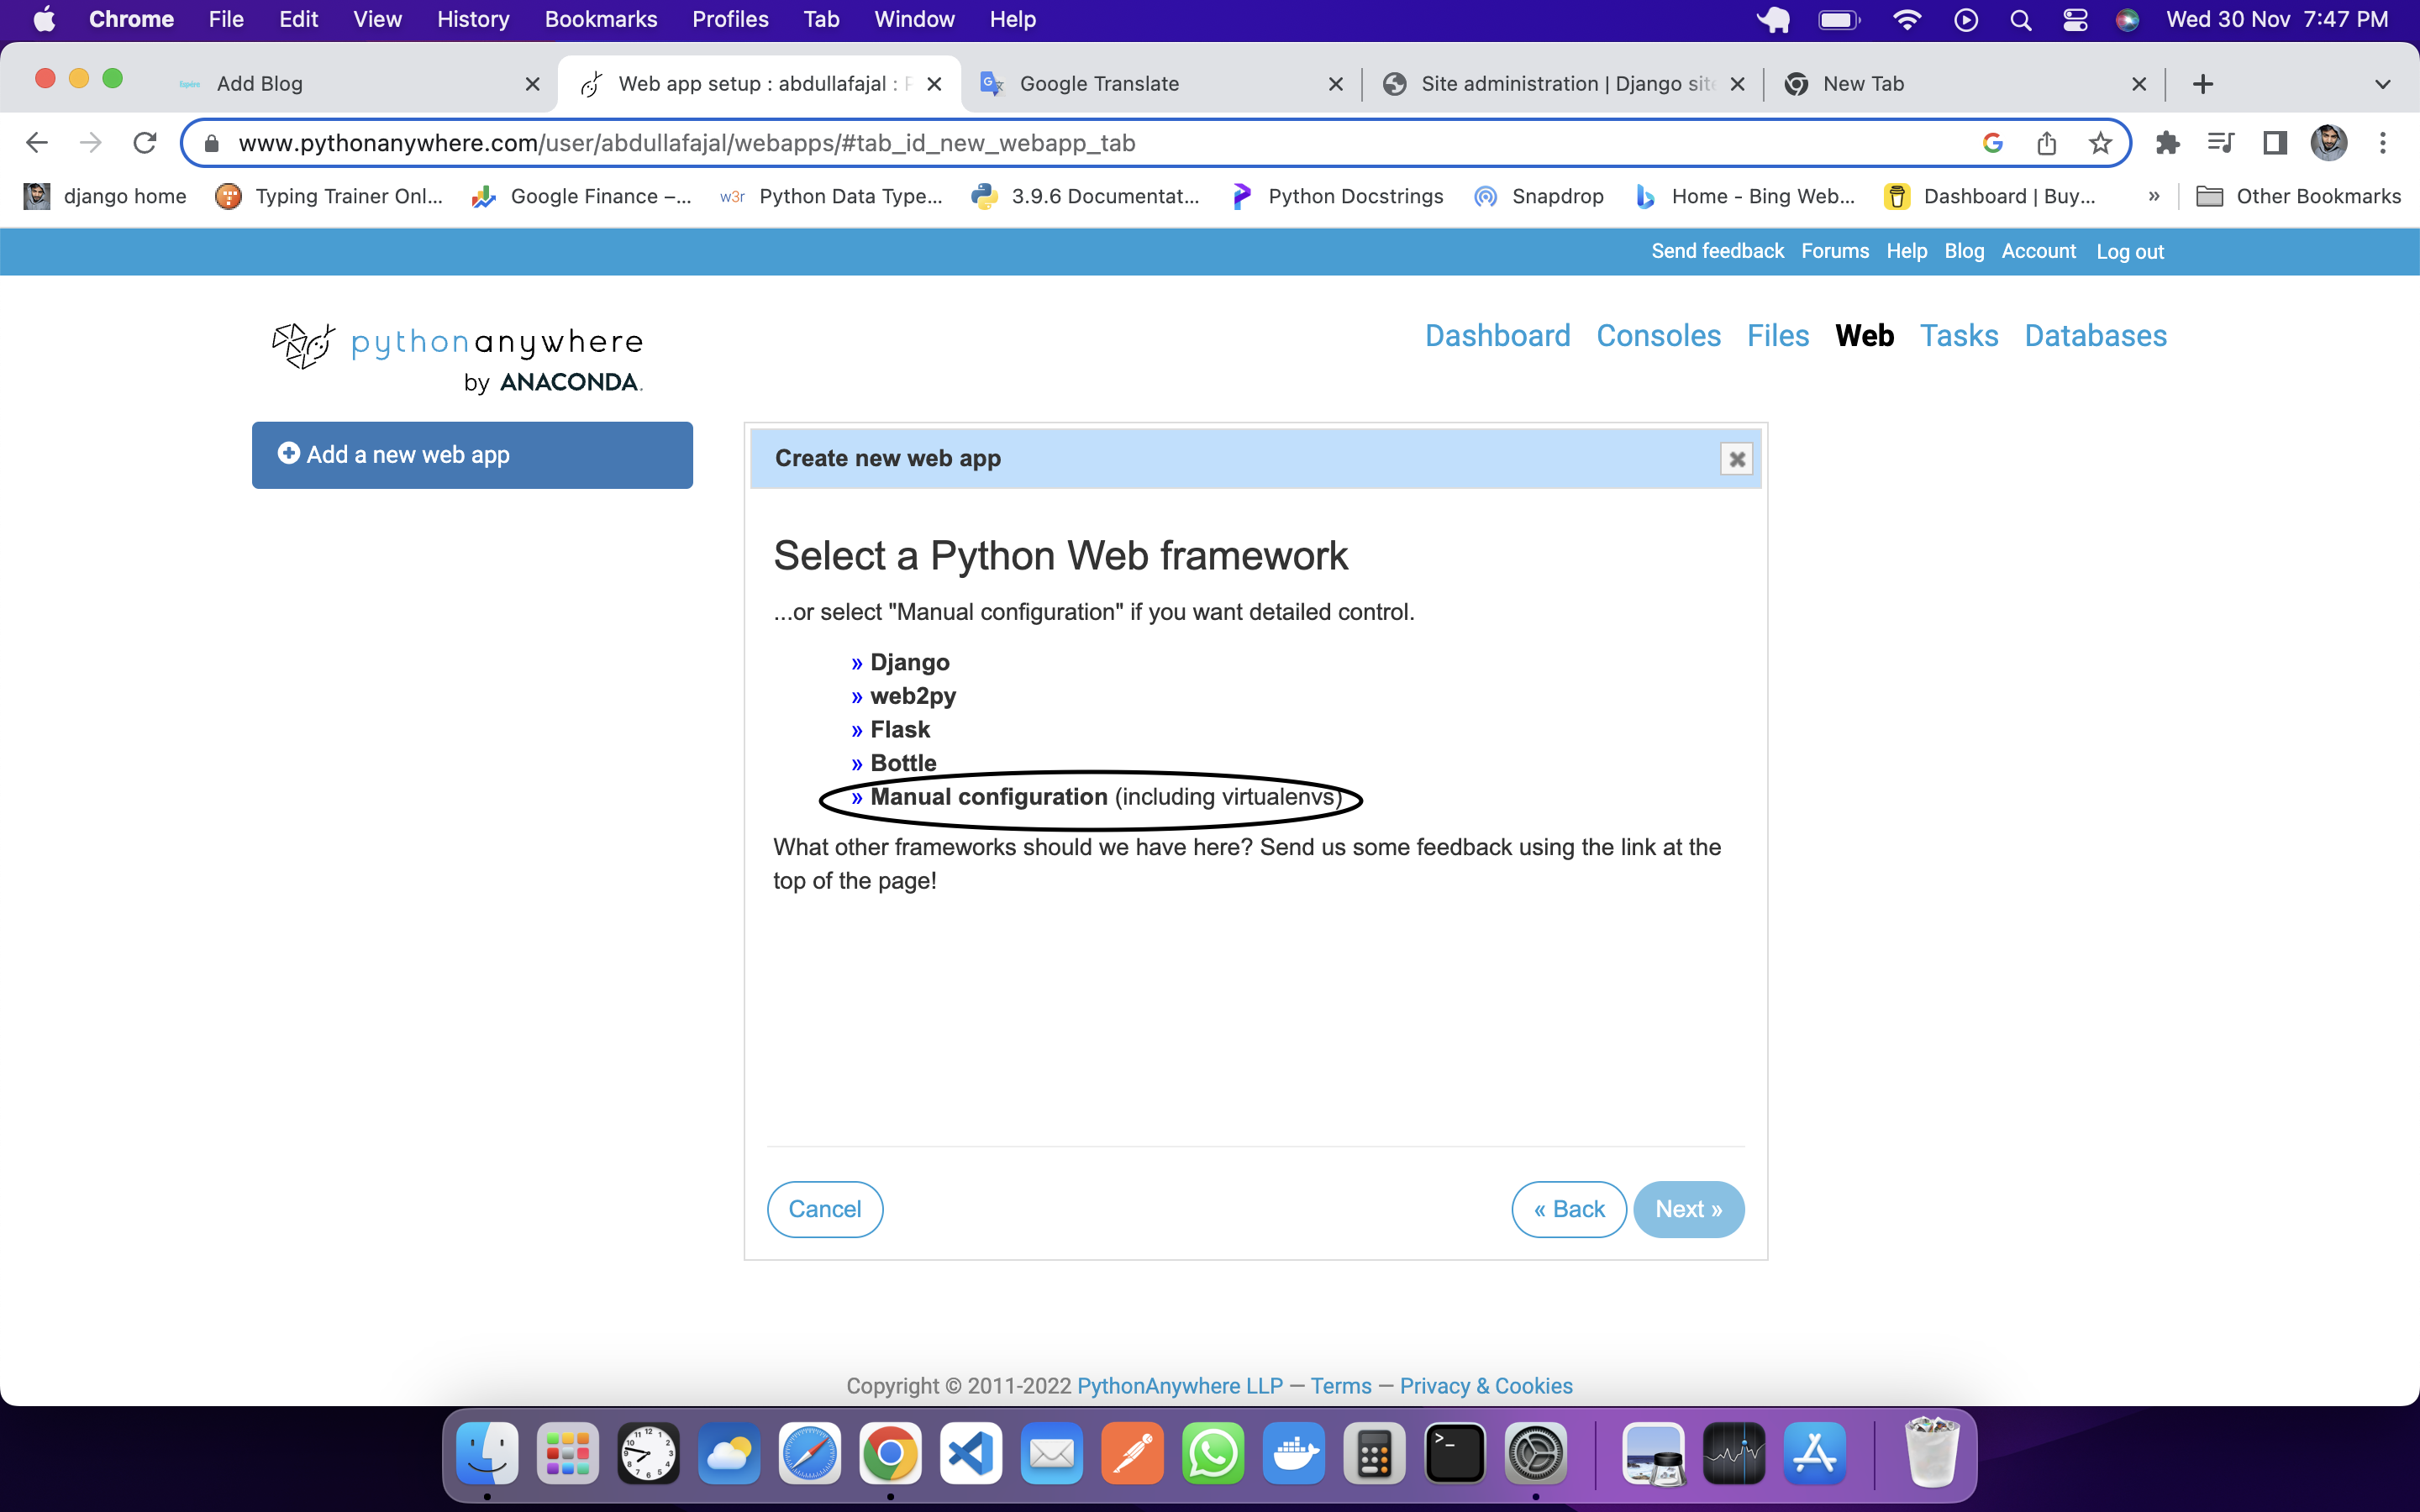
You have to do manual configuration by clicking on Manual configuration (including virtualenvs) in the above screenshot you have to do next. Then you have to select your python version like mine is 3.10, have to do next then have to do the next one more time.
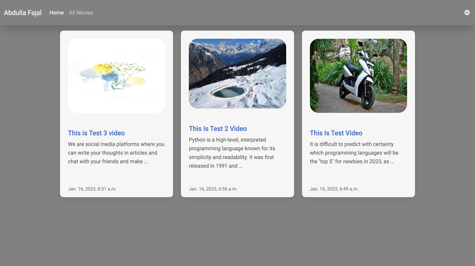
Your web will be created, if you click on the link of your web, you will see something like this:

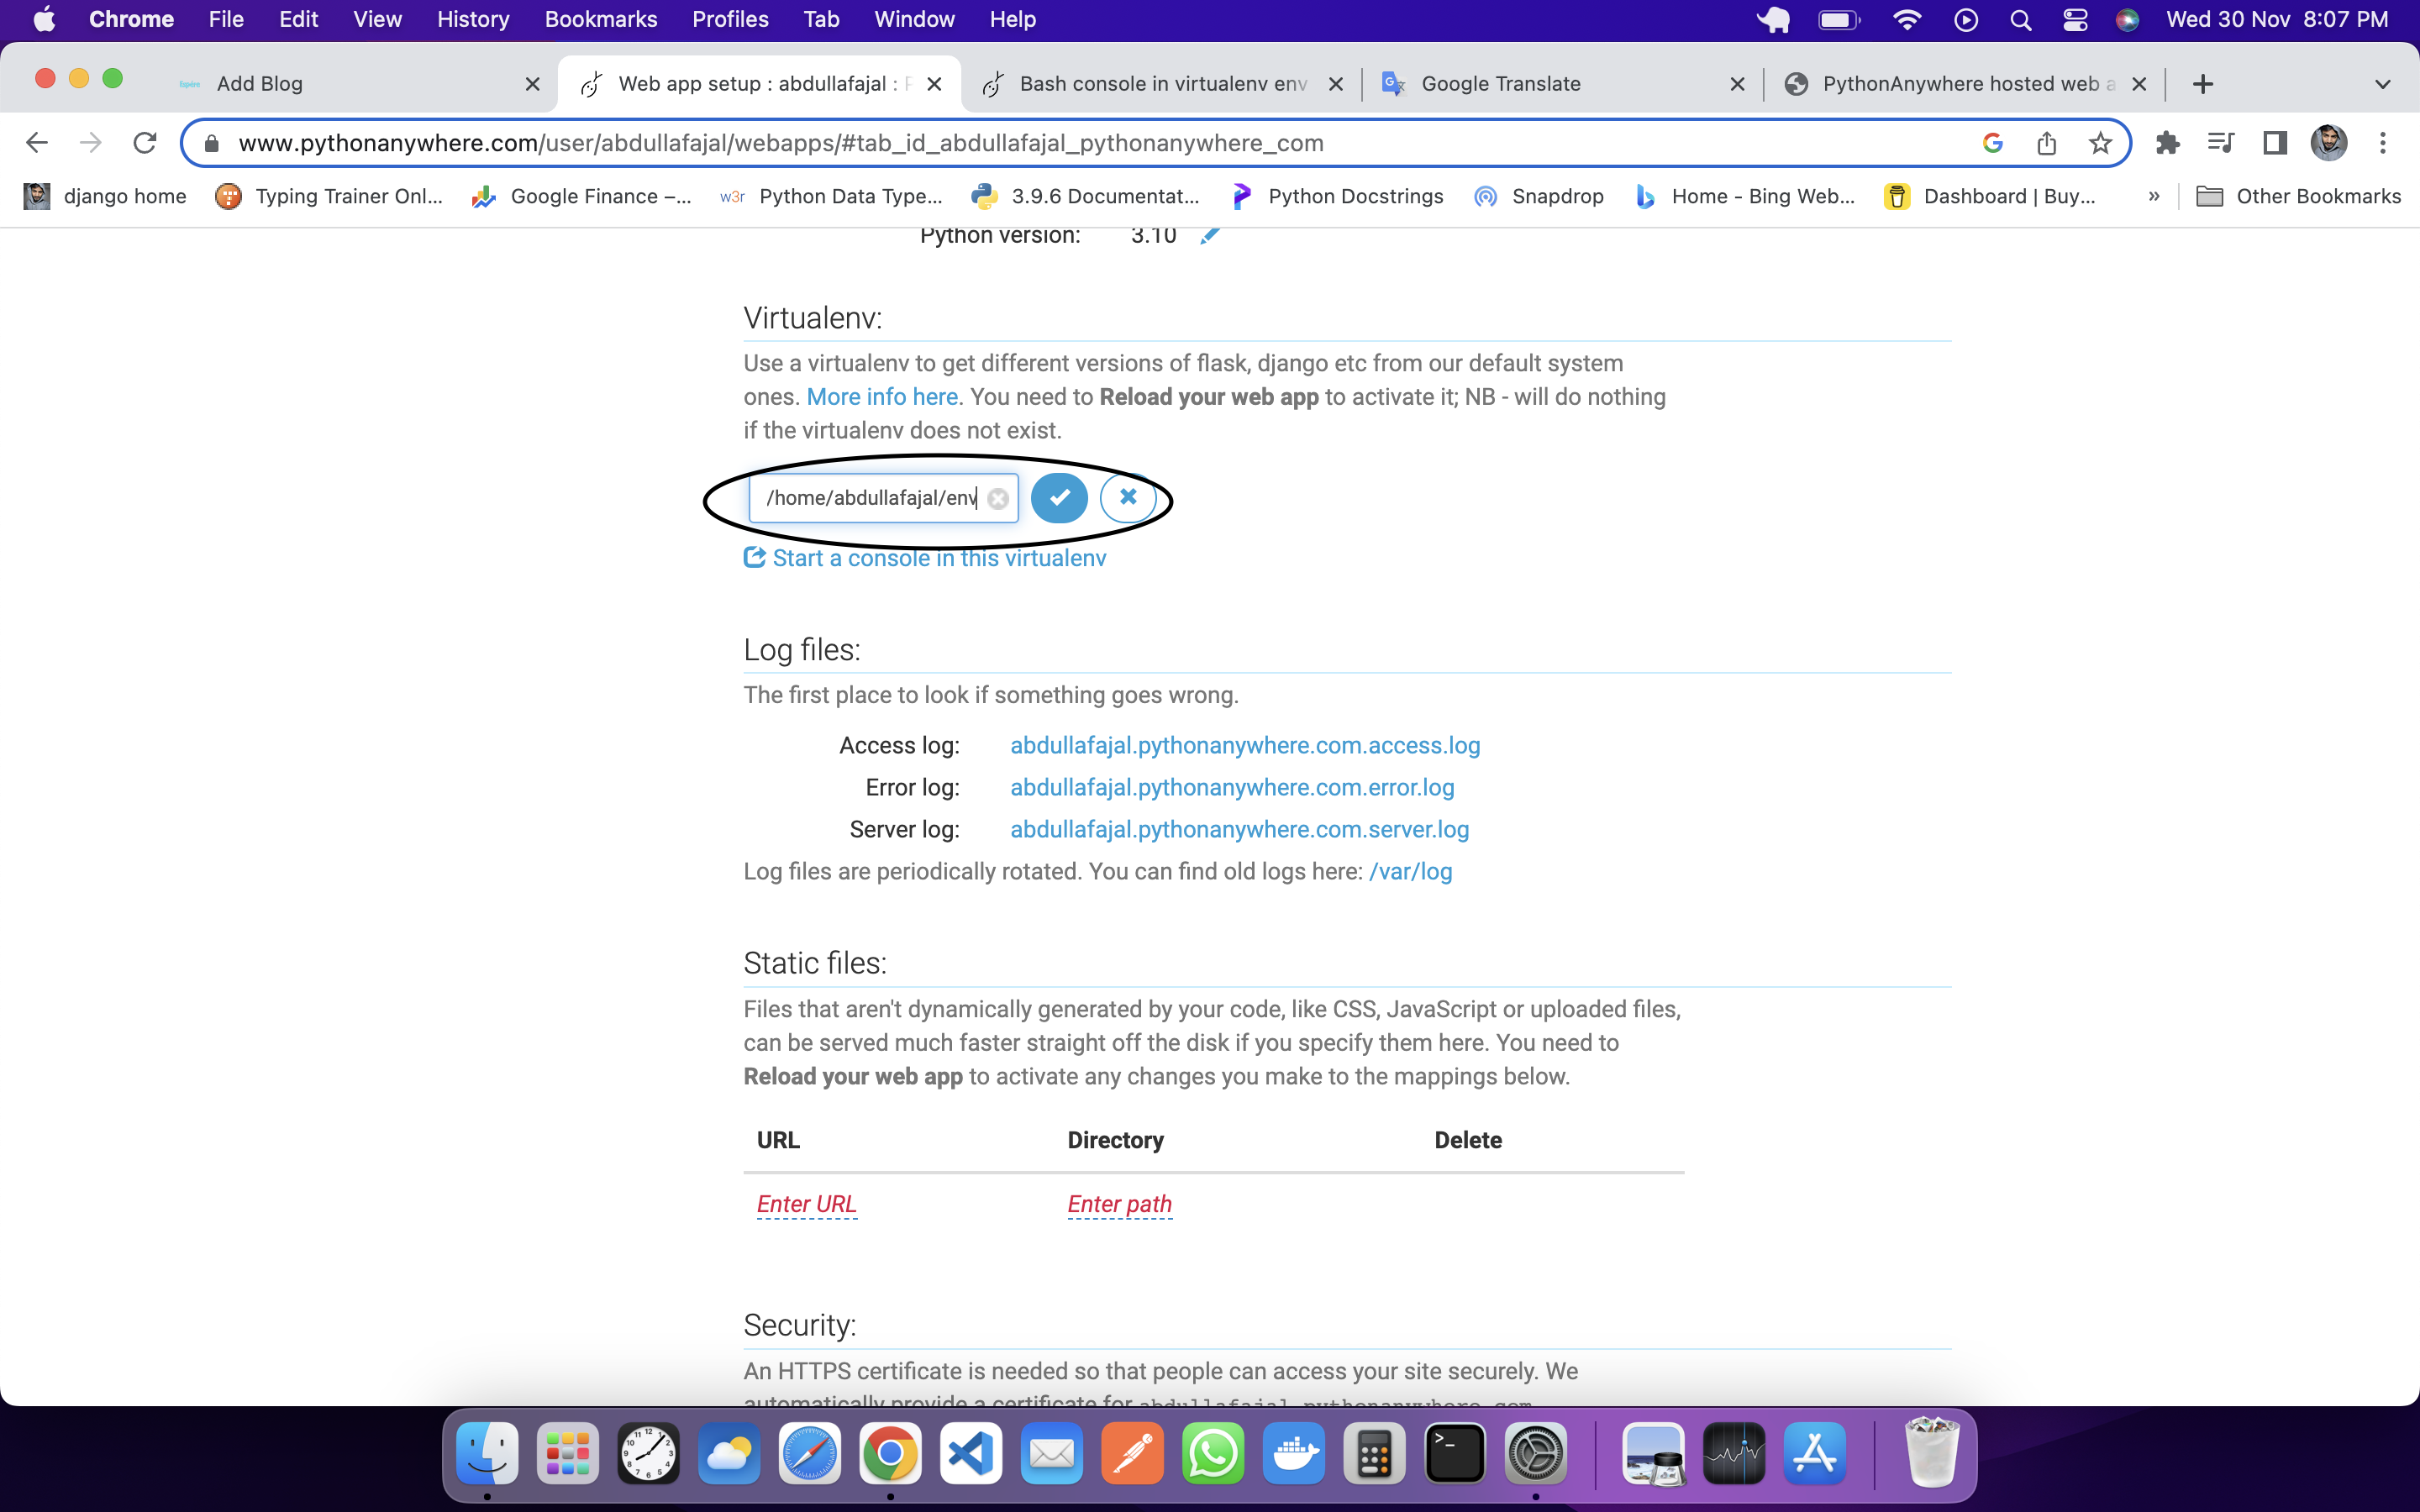
You will go to the web and scroll down a bit, there will be Virtualenv section, where you will give the path of your virtual environment:
Installing all the packages you need in your requirements.txt files. For this, you will use this command:
pip install -r file_name.txt

#example
pip install -r requirements.txt
In our project, we are doing it only for Django, so we will install it manually, but it is better that you must create your requirements.txt file. For this, we will open bash and activate our virtual environment if it is deactivated.
(env) 14:33 ~ $ pip install django
This will install django.
After this, we have to go to the web and after scrolling a bit there will be code section on that we have to configure our wsgi file
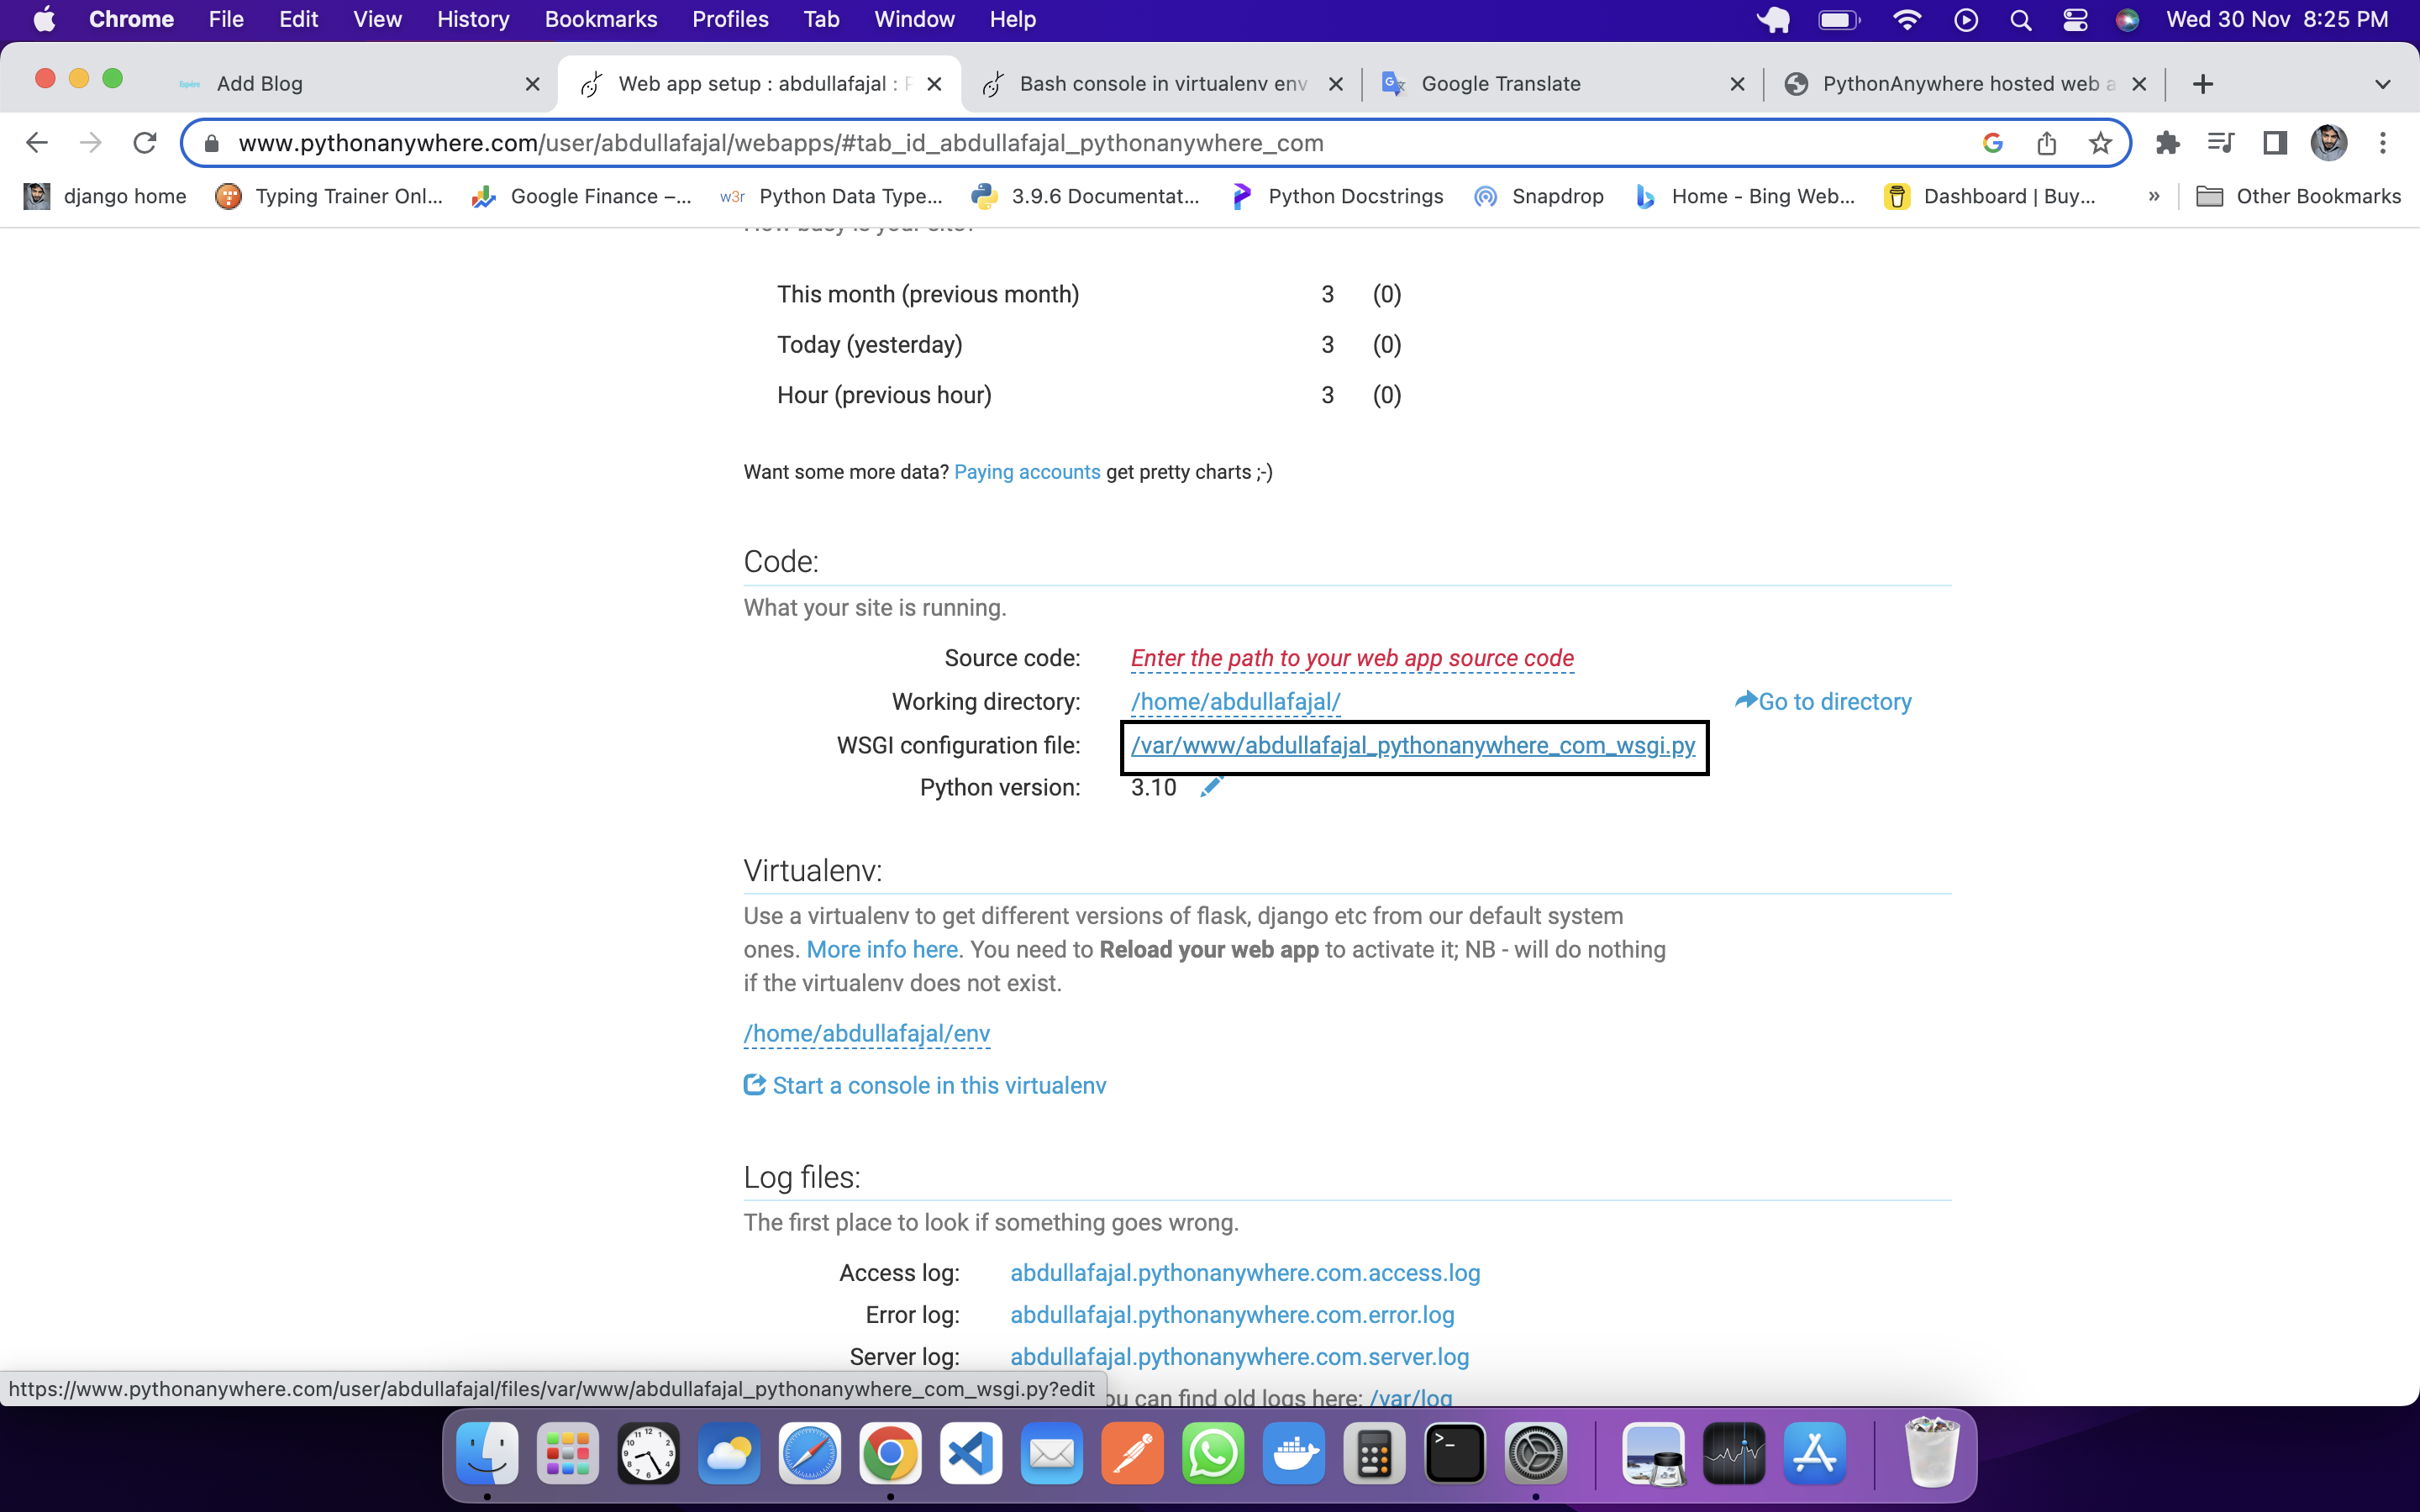
All the code written there will be removed except the code of Django. Then the code would look something like this:
# +++++++++++ DJANGO +++++++++++
# To use your own django app use code like this:
# import os
# import sys
#
## assuming your django settings file is at '/home/abdullafajal/mysite/mysite/settings.py'
## and your manage.py is is at '/home/abdullafajal/mysite/manage.py'
# path = '/home/abdullafajal/mysite'
# if path not in sys.path:
    # sys.path.append(path)
#
# os.environ['DJANGO_SETTINGS_MODULE'] = 'mysite.settings'
#
## then:
# from django.core.wsgi import get_wsgi_application
# application = get_wsgi_application()
We will modify this code according to our project. Then our code would look like this:
# +++++++++++ DJANGO +++++++++++
# To use your own django app use code like this:
import os
import sys
#
## assuming your django settings file is at '/home/abdullafajal/mysite/mysite/settings.py'
## and your manage.py is is at '/home/abdullafajal/mysite/manage.py'
path = '/home/abdullafajal/crud'
if path not in sys.path:
    sys.path.append(path)
#
os.environ['DJANGO_SETTINGS_MODULE'] = 'crud.settings'
#
## then:
from django.core.wsgi import get_wsgi_application
application = get_wsgi_application()
save this file and go to web and click on reload.
Note: If you make any change in your code, then you will have to reload it by going to the web, only then that change will take effect.
Now you will open the URL of your web then you will see an error which will be something like this:
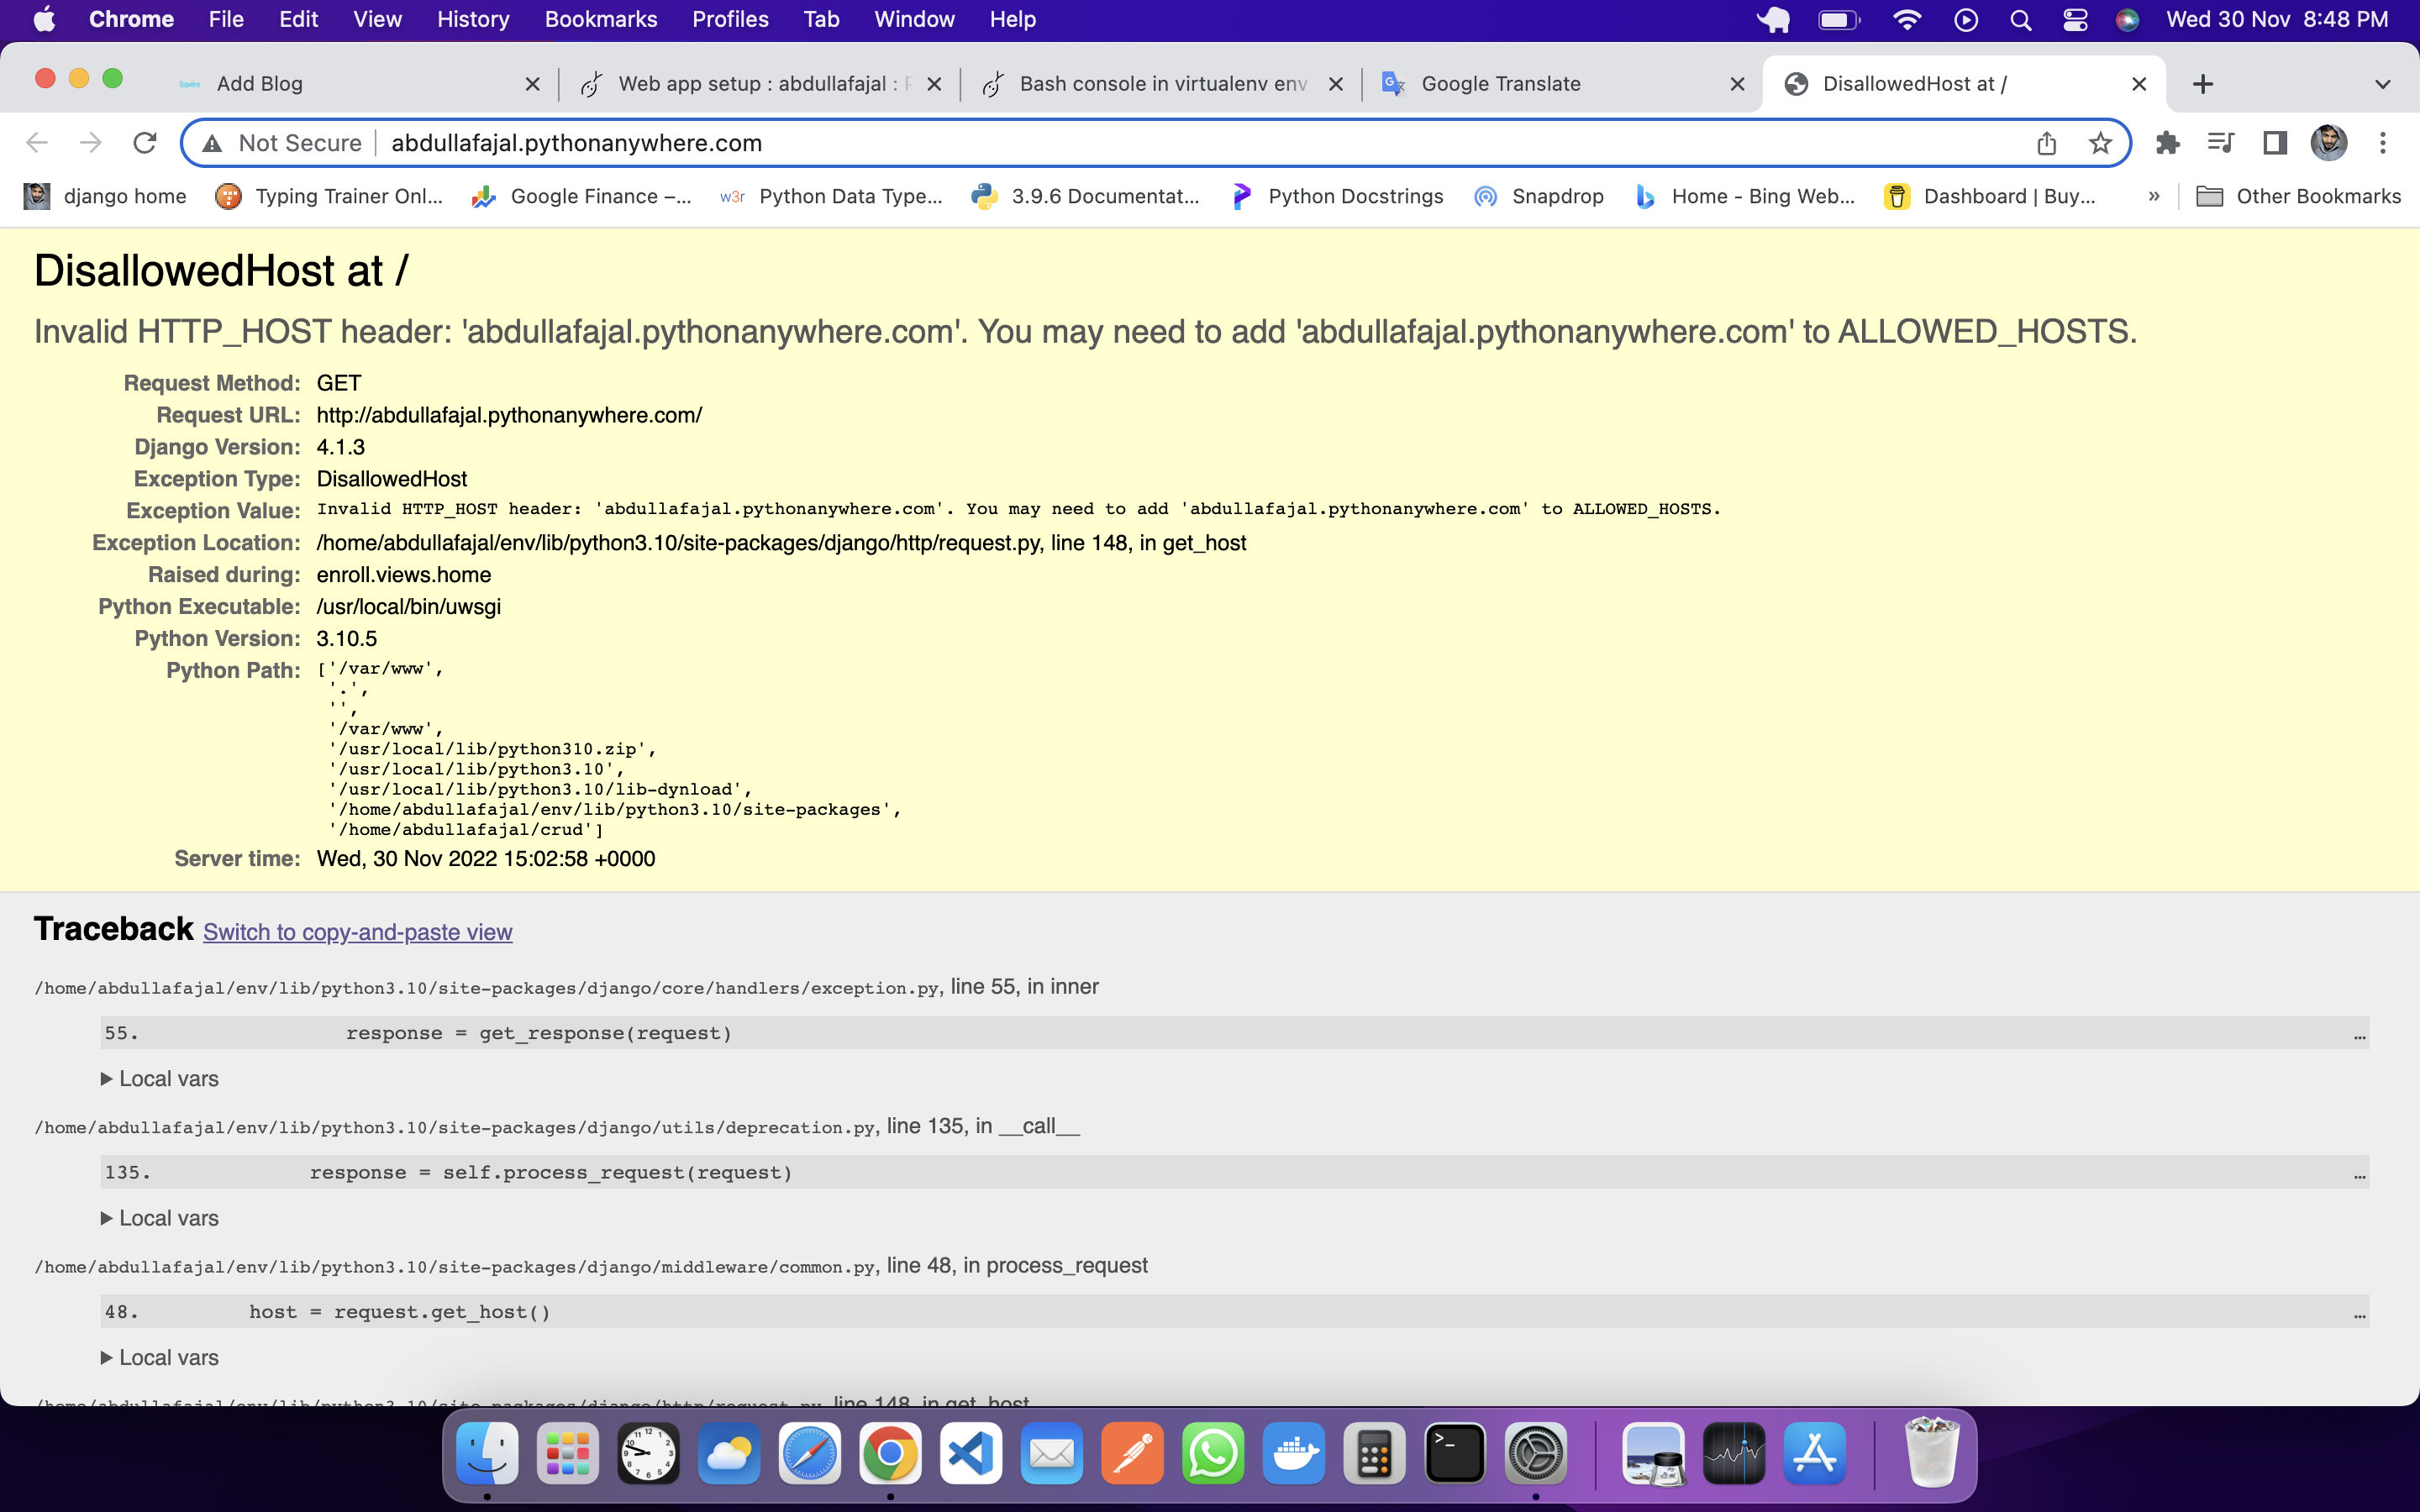
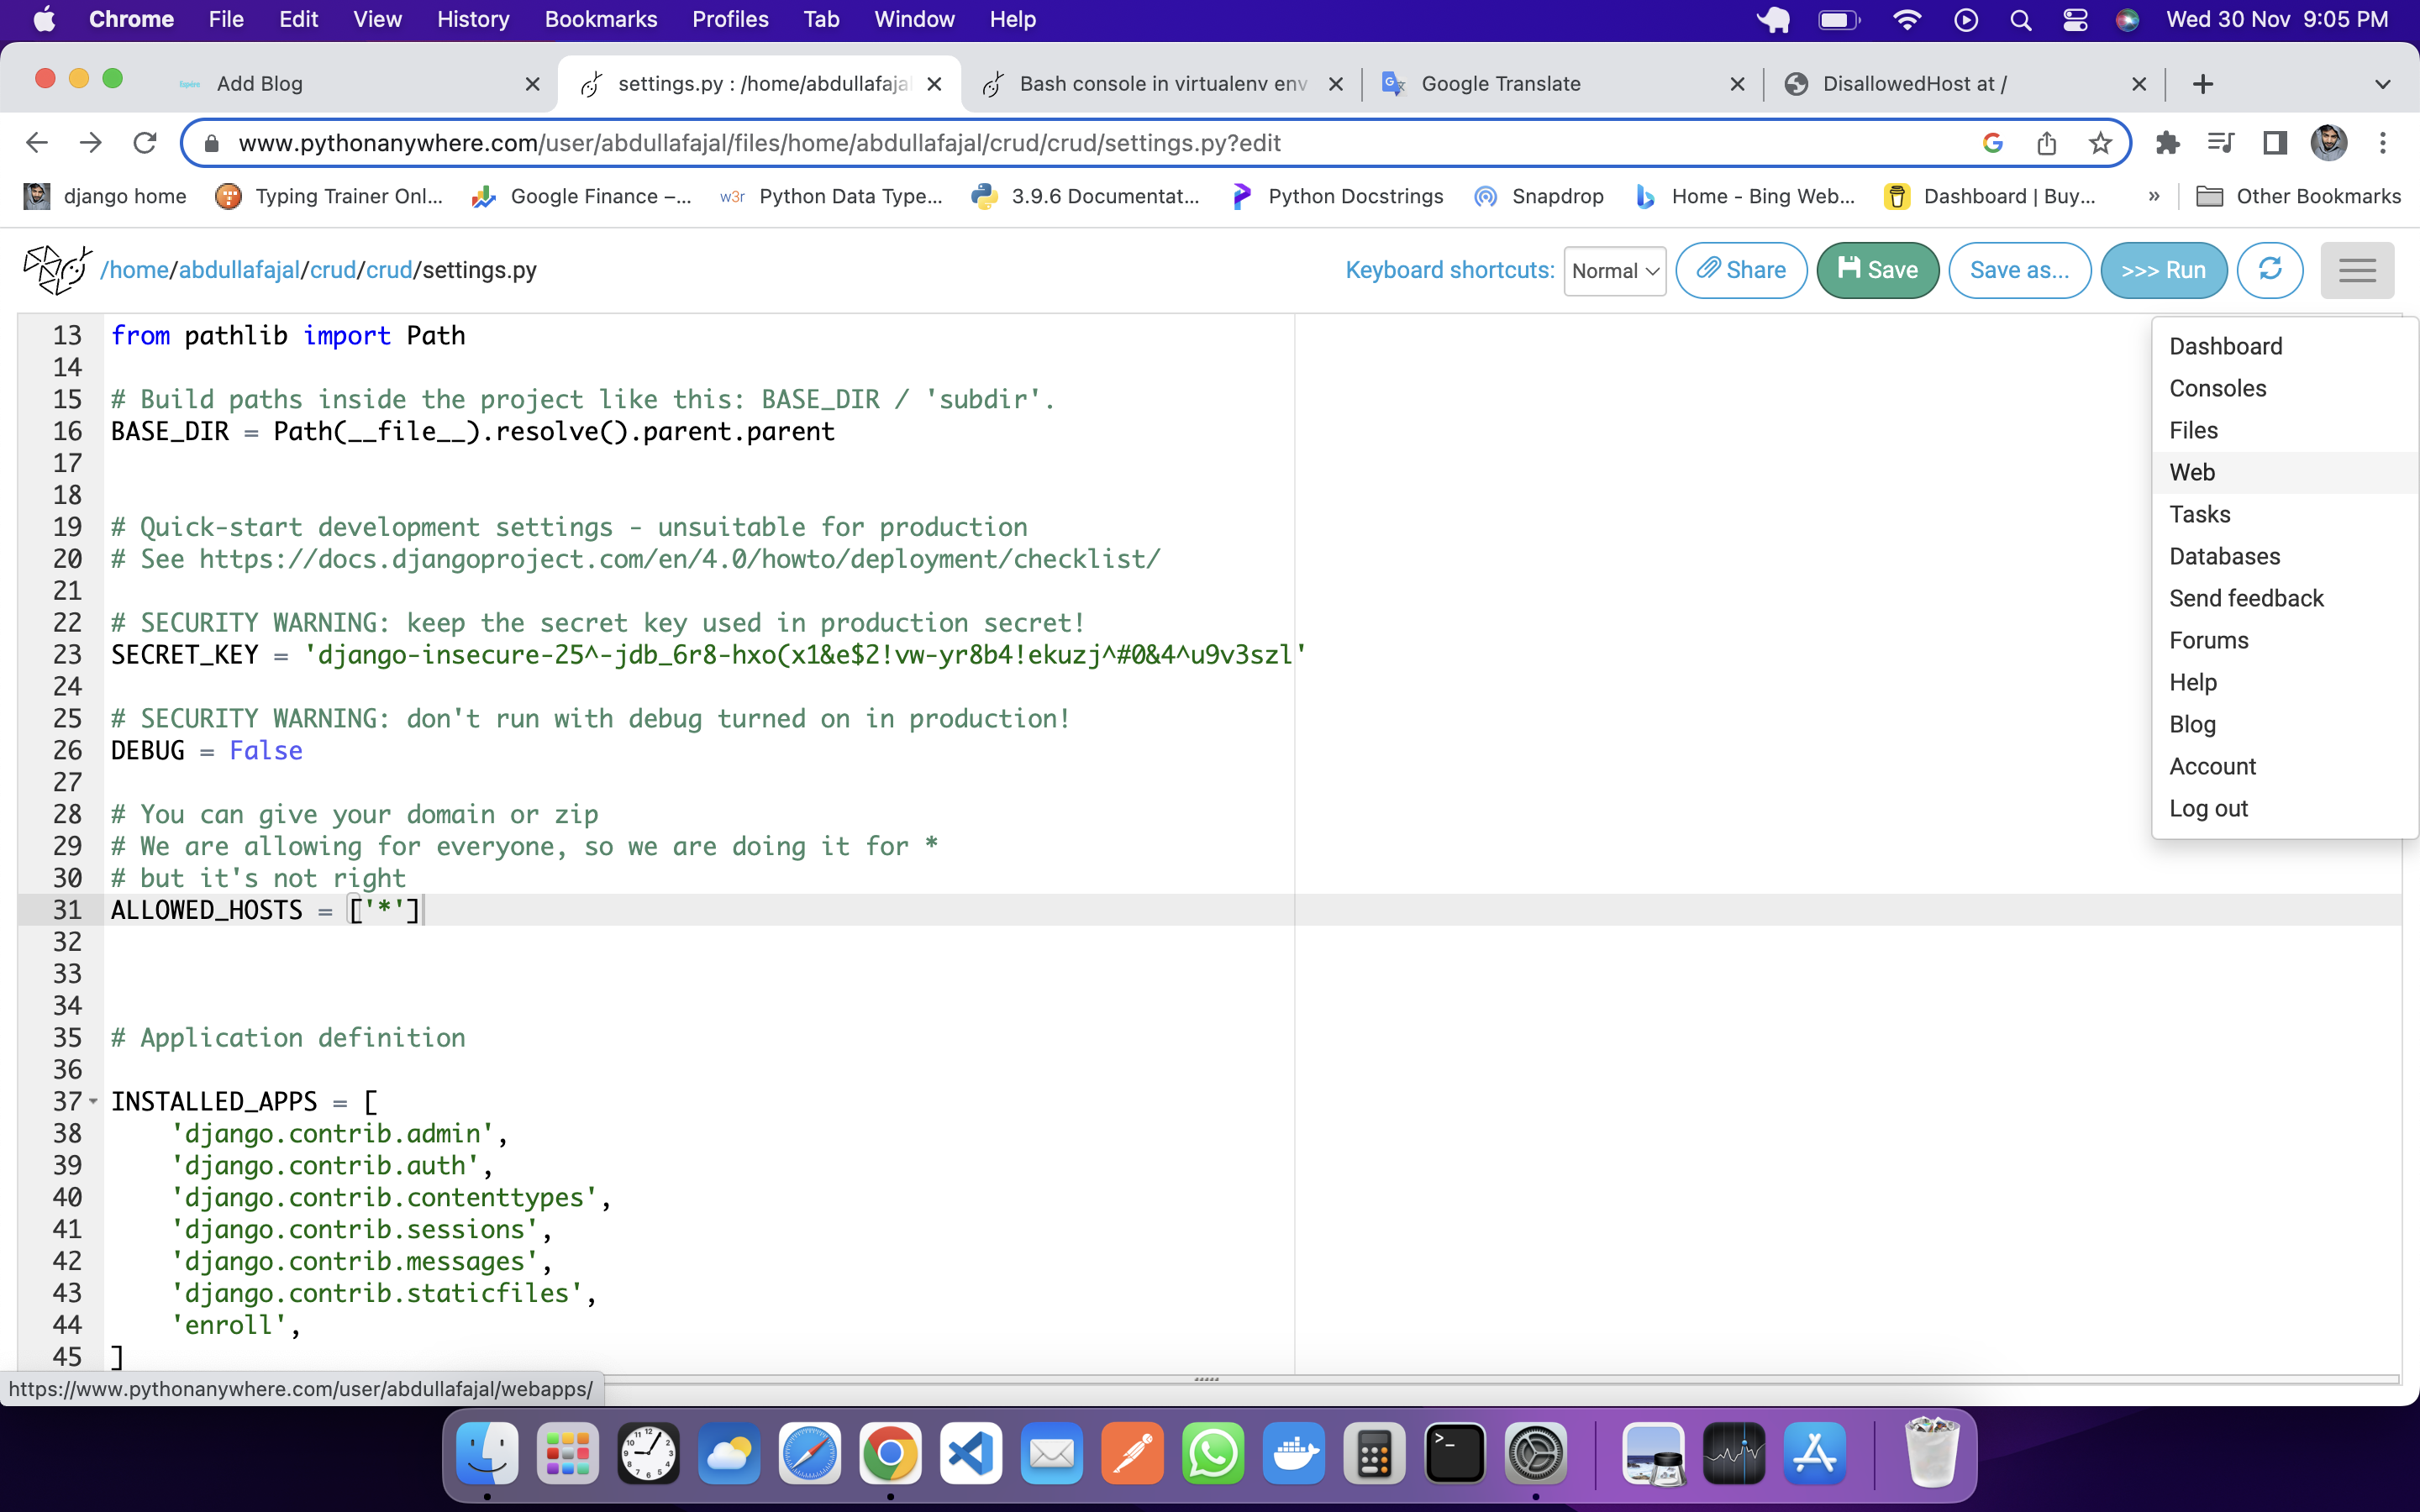
For this, you have to go to the settings of your project, for that you go to the files and go to the settings.py of your project and allow. and debug has to be false
# SECURITY WARNING: don't run with debug turned on in production!
DEBUG = False

# You can give your domain or zip
# We are allowing for everyone, so we are doing it for *
# but it's not right
ALLOWED_HOSTS = ['*']
save and reload in web:
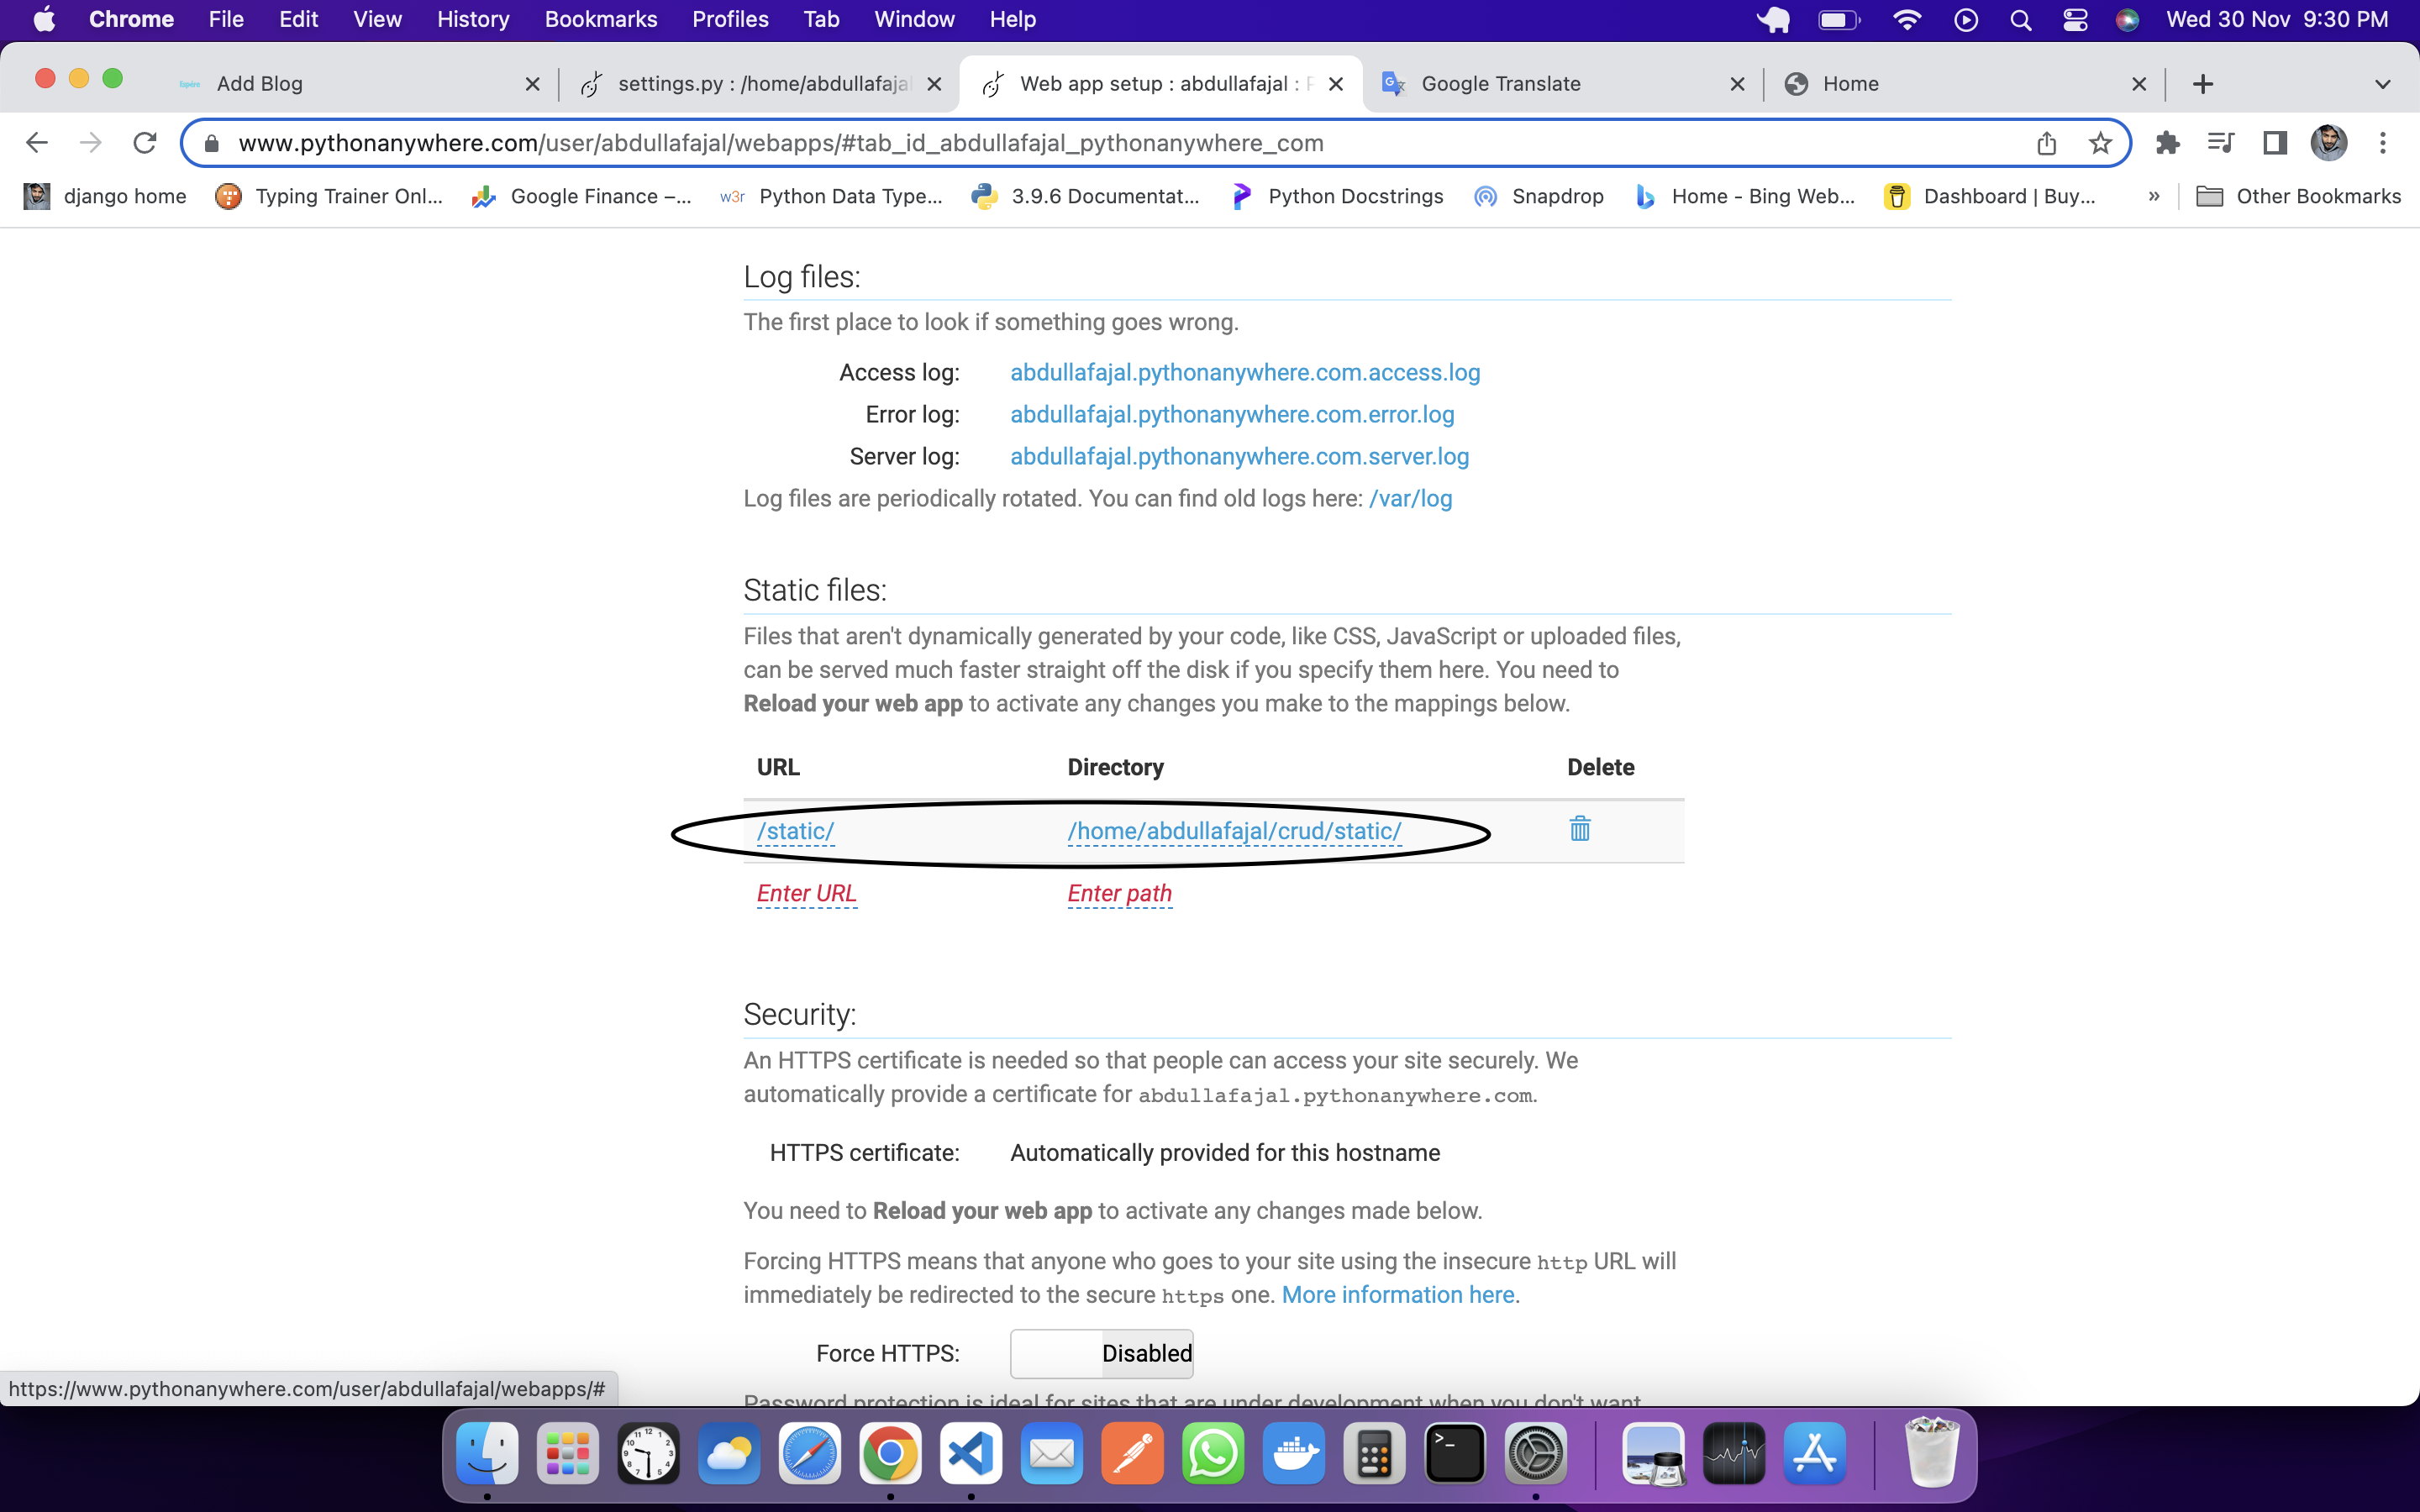
If you open the link of your web, then your static files will not be loaded, for that, you have to go to the settings.py of your project and give the root of the static files.
STATIC_URL = 'static/'
STATIC_ROOT = os.path.join(BASE_DIR, 'static/')
After saving, you will have to go to the console and open the bash, if the virtual environment is not activated, activate it and run the collectstatic command.
python manage.py collectstatic
Your static file will be successfully collected, then you have to go to the web and after scrolling a bit you will see the static files but you have to give the path of the static files:
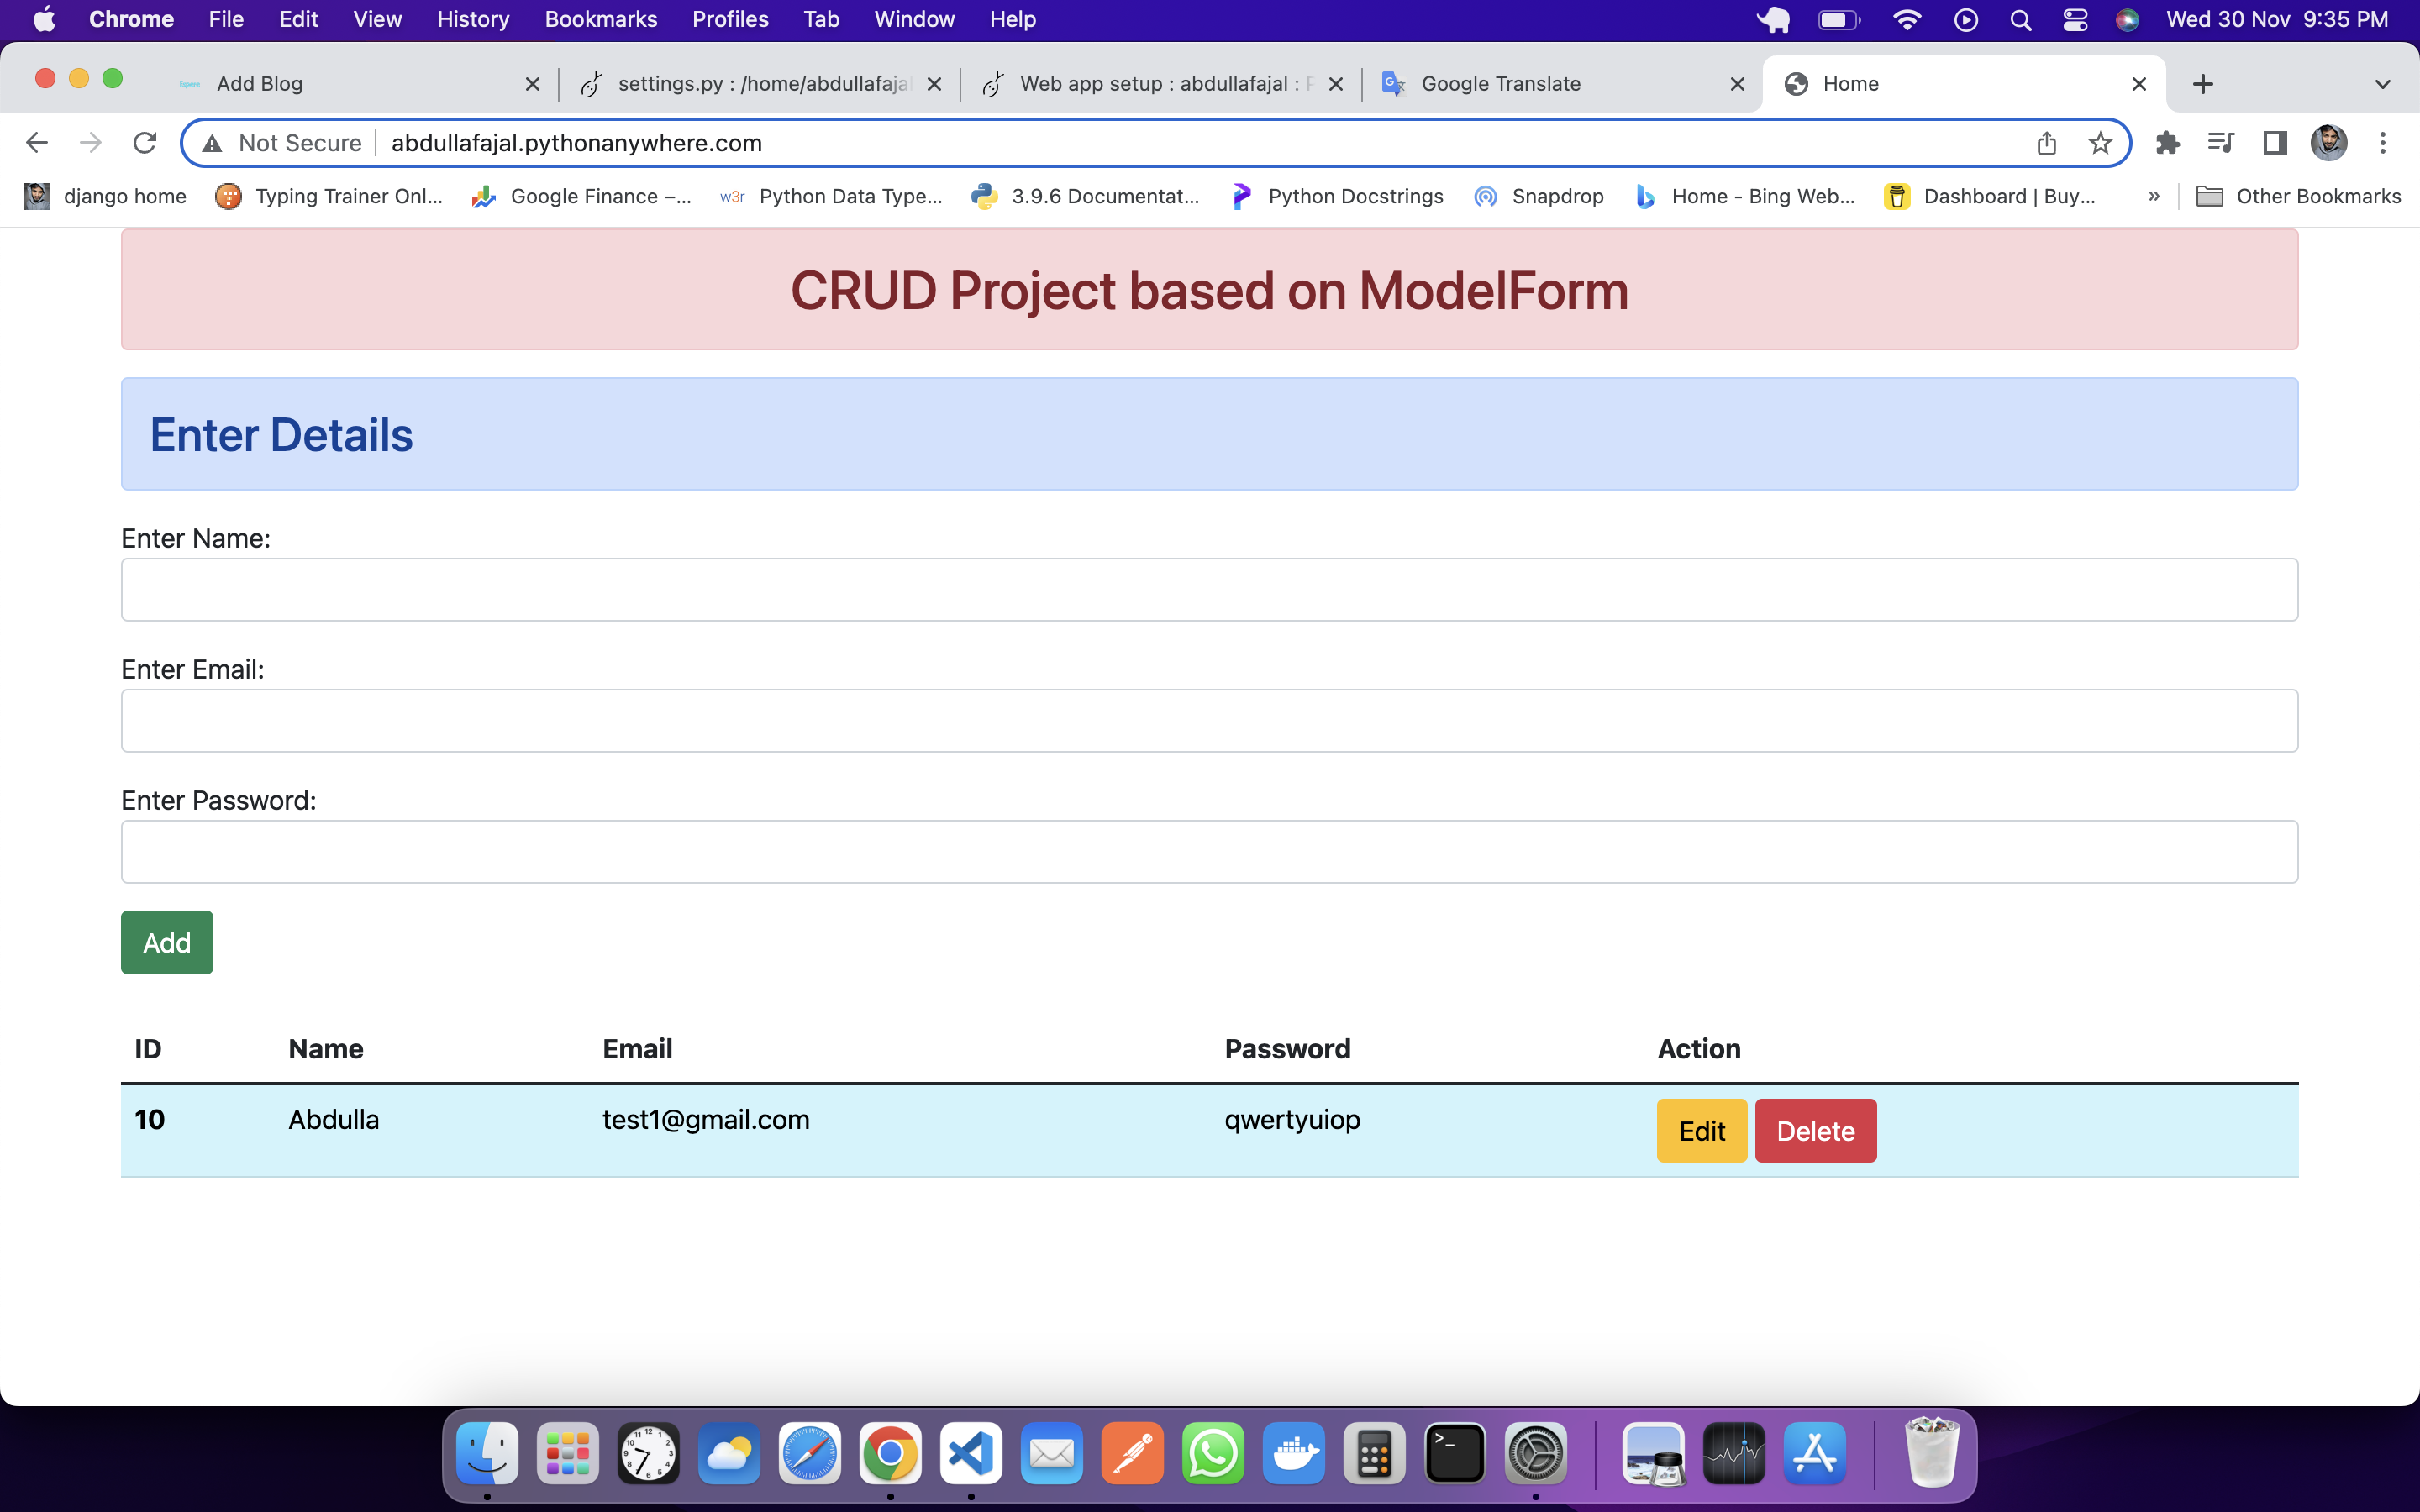
Your project has been successfully deployed. https://abdullafajal.pythonanywhere.com/
If you find any error, then comment, and we will help you.
You can also send a message Abdulla Fajal